Learn more about the basics of AutoCAD navigation. Please read Part I if you haven't done so already.
This exercise is excerpted from Noble Desktop’s past AutoCAD training materials and is compatible with Photoshop updates through 2020. To learn current skills in AutoCAD, check out AutoCAD Bootcamp and AutoCAD classes in NYC and live online.
Note: These materials are provided to give prospective students a sense of how we structure our class exercises and supplementary materials. During the course, you will get access to the accompanying class files, live instructor demonstrations, and hands-on instruction.
Topics covered in this AutoCAD tutorial:
Using the mouse wheel & navigation bar
Exercise Preview
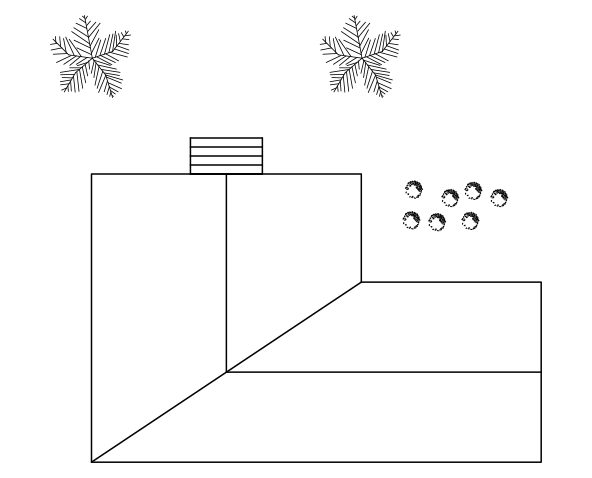
Open the file Clubhouse Zoom.dwg.
Turn the mouse wheel to zoom in on one of the two trees in front of the clubhouse. Press down on the mouse wheel to click and hold down the wheel pan to the other tree. Double–click on the mouse wheel to use Zoom Extents so all the objects in the drawing will fill the screen.
Start the Line command by pressing the L key and then pressing Enter. Use the mouse wheel to zoom in on the upper-right corner of the uncompleted steps. The Line command is still active, so you can click on the point specified in the diagram below to start the line segment. An endpoint snap symbol will appear on the point, allowing you to precisely place the start point. This will be explained in a later chapter. Click and hold on the mouse wheel to pan right to the other endpoint where the diagram specifies to finish the line. When you let go of the mouse wheel the cursor will turn back into crosshairs from the hand icon and the Line tool
 will still be active. Click on the point specified in the diagram below to complete the steps. The endpoint snap icon will appear again to ensure precision. Press Enter to end the line command.
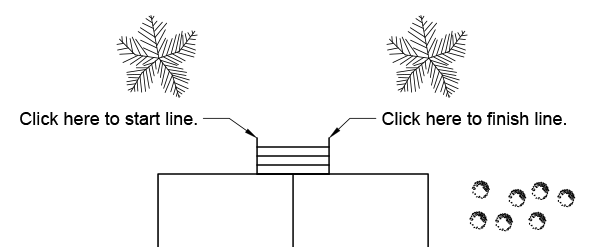
Undo the line you just drew. Double–click on the mouse wheel to activate Zoom Extents. Because you used Zoom Extents, the line will not reappear if you Redo. You will need to redraw the line.
Click and drag on the View Cube to shift away from a top down angle of view. Click the Top side of the View Cube or undo to return to the top down view used in 2D drawing.
Click on the UCS Icon
 to select it and move it to another point to shift the XY Plane. Click on the UCS menu below the View Cube and select WCS to revert to the default UCS and reset the Origin Point. Start the UCSICON Command and press S Enter to get the Selectable option, and then press N Enter for No. The UCS Icon can no longer be selected and moved.
On the Ribbon, click on the View Tab. Click on the View Cube and Navigation Bar buttons to turn them off and on. You may decide to keep them off if you are working in 2D with a mouse. Remember if you turn off the View Cube it will only be deactivated in the drawing you are in. Most of the drawing files used in the book were saved with the View Cube turned off so that when you open the files the View Cube will not appear.