
In this exercise, you're going to learn how to import and arrange multiple images—specifically, six logos. We'll avoid using your eye as a ruler!
Getting Started
1. If you have any presentations open, in PowerPoint, go to File > Close to close them. You may have to close more than one.
2. Still in PowerPoint, go to File > Open to open the next project.
3. Windows only: Under Open click the Browse button.
4. Navigate to the Desktop > Class Files > yourname-PowerPoint 2016 Class folder.
5. Double–click Logos.pptx to open it.
Inserting Multiple Images
1. In the Slides list, click on Slide 6 (Leaf Works Locations with two pictures).
2. In the Home tab, click the arrow part of the New Slide button and choose Title Only.
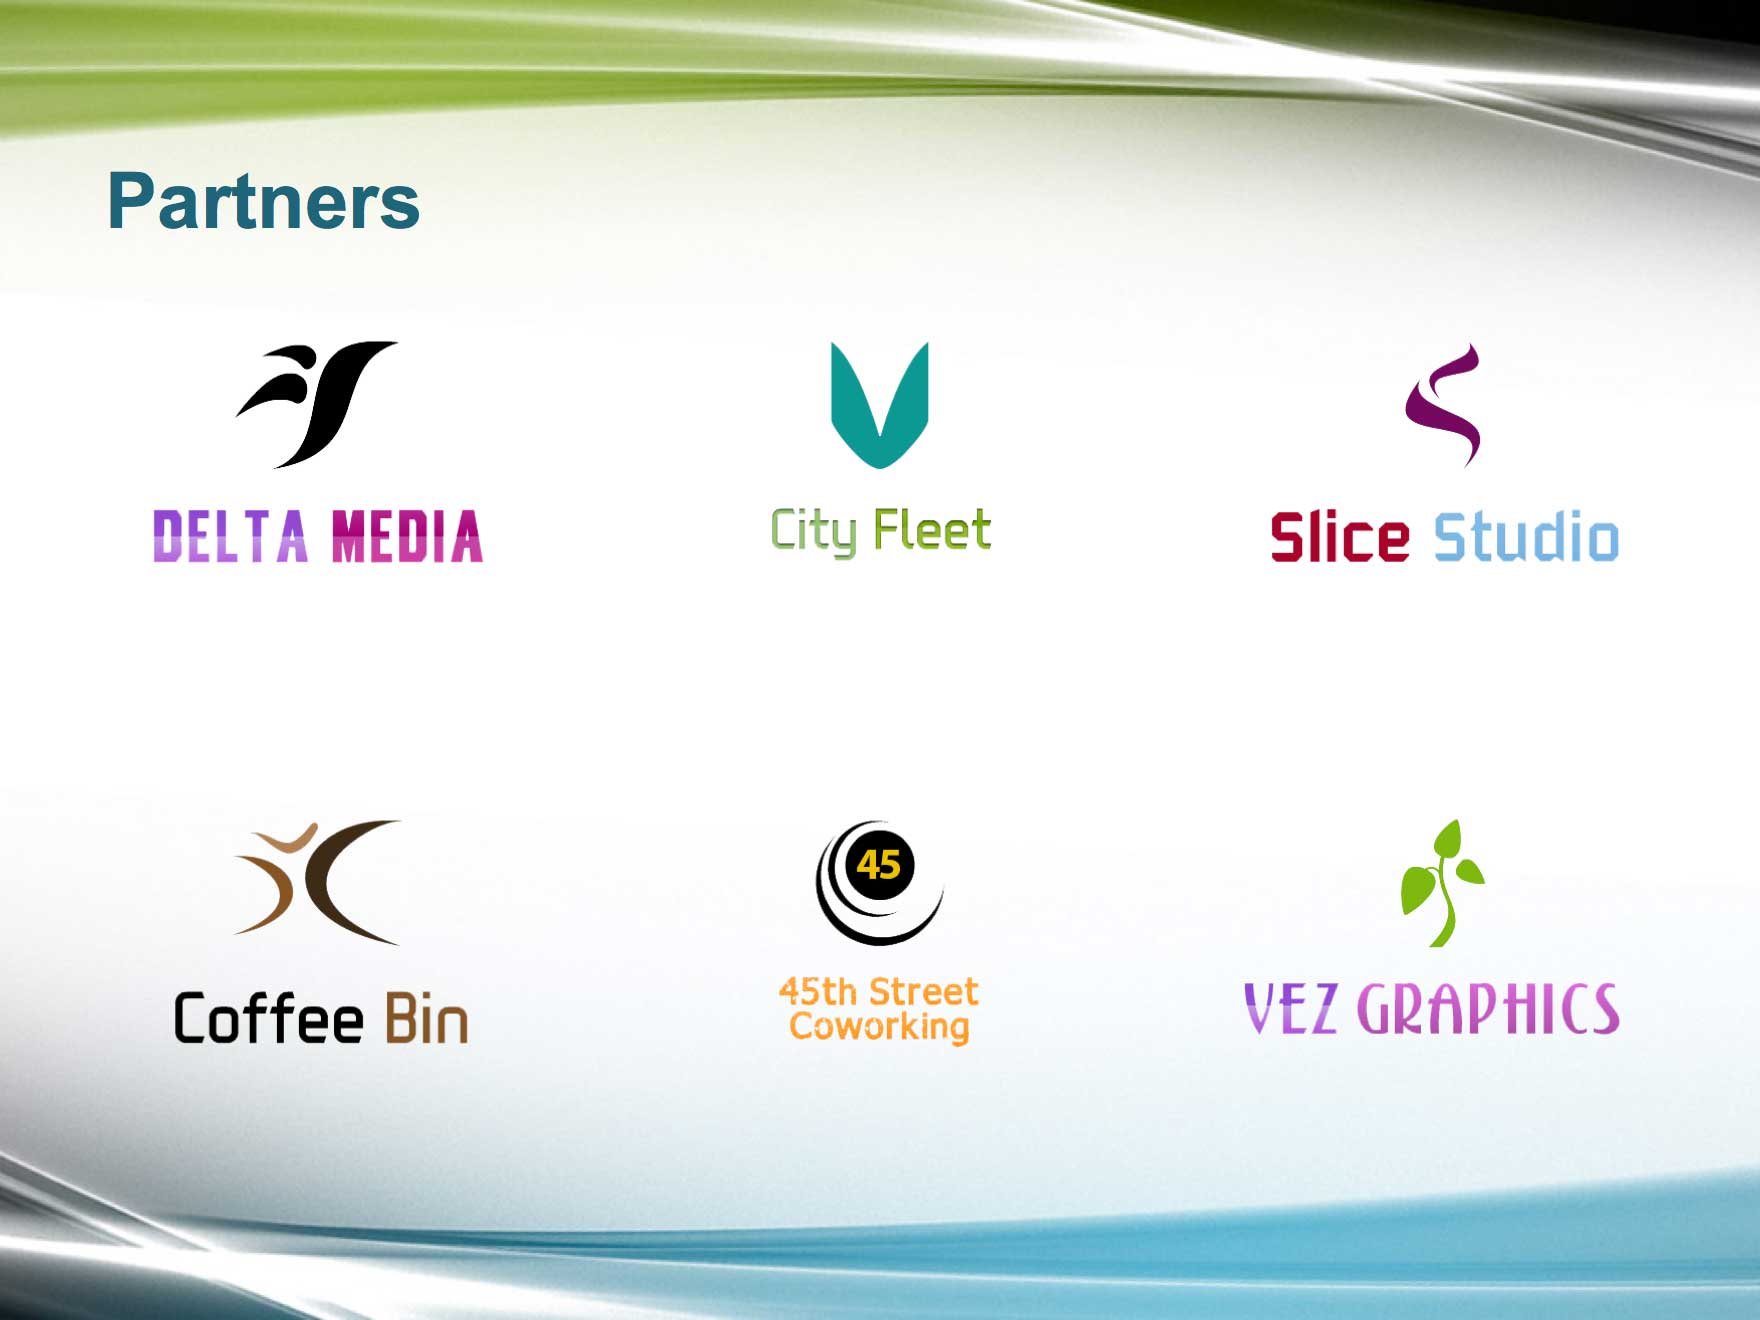
3. In the title placeholder, type: Partners
4. We're going to add six logos to the presentation. In the Insert tab, click the Pictures button, and choose Pictures from File if you have it.
5. Go to Desktop > Class Files > yourname-PowerPoint 2016 Class > Source > Logos.
6. Select all of the folder's contents.
7. Click Insert or press Return/Enter to finish inserting the six logos.
8. With all the logos selected, hold Shift and drag any corner handle to resize the logos so that they can fit pretty comfortably on the slide. Below is an example:

Aligning & Distributing Multiple Objects
1. Arrange the logos in two rows (refer to the exercise preview if needed). Don't worry about alignment; we'll perfect it shortly.
- Delta Media, City Fleet, and Slice Studio
- Coffee Bin, 45th Street Coworking, and Vez Graphics
2. If you need to resize a bit more to fit the logos on the page, select them all then resize accordingly.
3. Drag a selection box around the top row of graphics, as shown below:
NOTE: Objects will only be selected if they are completely within the selection box. If an object is only partially in a selection box, it won't be selected.
4. In the (Picture) Format tab, click the Align button, then click Distribute Horizontally. (On smaller screens, you may need to click Arrange first—we won't remind you again.) This distributes the images evenly across the slide.
Next, we want to align the logos so they are all on the same line (instead of slightly above and below each other).
5. Click the Align button and select Align Middle. Now the objects are perfectly aligned.
6. Select the bottom row of graphics with the Coffee Bin, 45th Street Coworking, and Vez Graphics logos.
7. First, let's align their middles. In the (Shape) Format tab, click the Align button, then click Align Middle.
8. Click the Align button again and choose Distribute Horizontally.
9. Select the top row of graphics: Delta Media, City Fleet, and Slice Studio.
10. Use the Up and Down Arrow keys on the keyboard to adjust the spacing between them and the Partners title placeholder.
11. Select the bottom row of graphics: Coffee Bin, 45th Street Coworking, and Vez Graphics.
12. Use the Up and Down Arrow keys to adjust the spacing between them and the top row of graphics.
13. When you are satisfied with how the slide looks, save the file.
Master Microsoft Office
Microsoft Office enables employees to work productively, collaboratively, and dynamically. We offer the best Microsoft Office training in NYC. Top professionals help students create engaging presentations, generate reports on the fly, automate tasks, and more! Sign up individually, or contact us about corporate training today: