
Content can either come from a client, or you can create it. In this exercise, you'll copy and paste content from an old PowerPoint presentation to a new one, slide-by-slide. Many slides will end up looking entirely different from those in the old presentation, mostly because there was previously no set theme/style.

Getting Started
We've completed the rest of the template for you (we made additional master slide styles for you to save time). You'll use it to build your presentation.
1. If you have any presentations open, in PowerPoint, go to File > Close to close them. You may have to close more than one.
2. Still in PowerPoint, go to File > Open to open the completed template.
3. If you are asked to sign in to your Microsoft account, close the dialog.
4. Under Open click the On my Mac (Mac) or This PC (Windows) button.
5. Navigate to the Desktop > Class Files > yourname-PowerPoint 2016 Class folder.
6. Double–click Template.pptx to open it.
7. If you get a warning at the top of the screen that you're in PROTECTED VIEW, click the Enable Editing button.
8. Go to File > Save As to rename the presentation.
9. Windows only: Under Save As click the Browse button.
10. Navigate to the Desktop > Class Files > yourname-PowerPoint 2016 Class folder.
11. Set the following:
- File Name: yourname-Leaf Works Presentation.pptx
- Save as type: PowerPoint Presentation (.pptx)
12. Click Save.
We're going to open an old slide presentation and copy from it. The reason we are getting old data is because we tend to reuse and update PowerPoint presentations!
13. Go to File > Open to open the old presentation we'll take content from.
14. Under Open, click on On my Mac or This PC.
15. Navigate to the Desktop > Class Files > yourname-PowerPoint 2016 Class folder.
16. Double–click Content.pptx to open it.
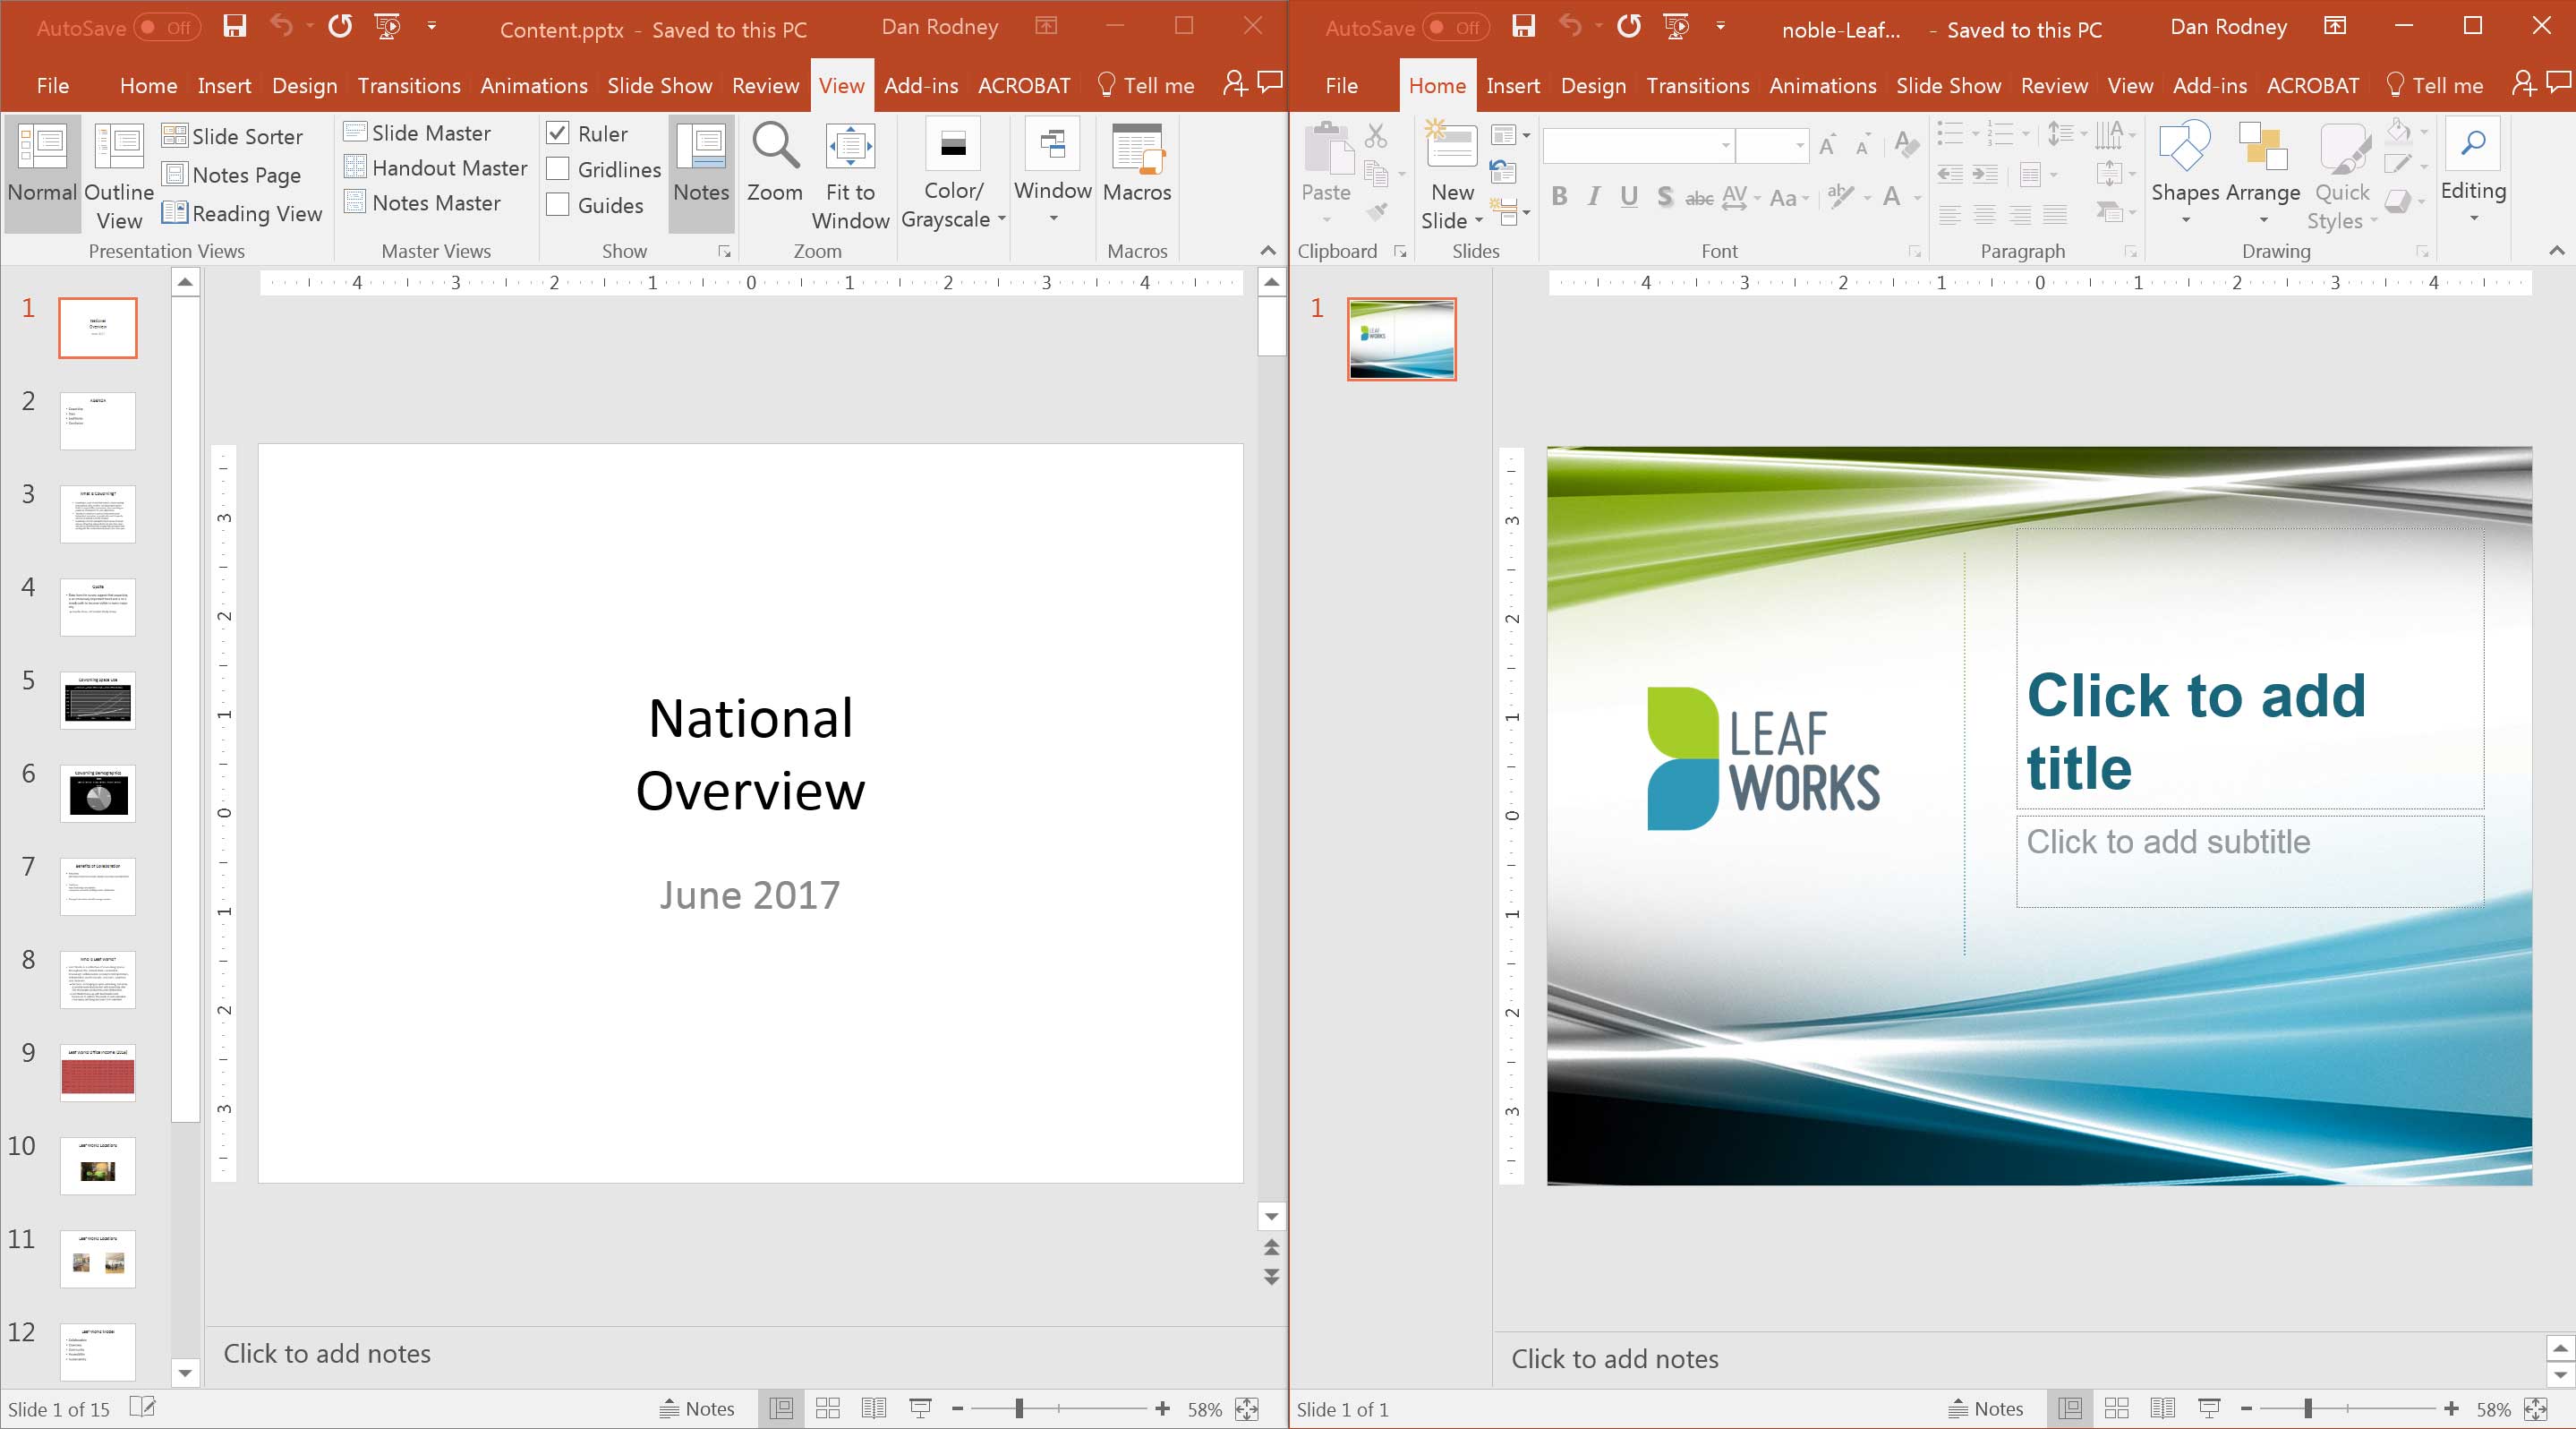
Let's set up our workspace so we have two PowerPoint project windows open side-by-side: the old and the new.
17. With only these two presentations open in PowerPoint, go into Window > Arrange All (Mac) or go to the View tab and click Arrange All (Windows).
The two PowerPoint presentations will be arranged side-by-side, each occupying half of the screen. Some of the options in the tabs at the top will seem to disappear. They are still there but have either collapsed to buttons with no visible text or are now found in menus.
18. Before moving on, make sure you have this general setup on your screen:
PowerPoint's View Modes
To get a better idea of the different ways in which a presentation's content can be displayed on-screen, let's examine PowerPoint's view modes.
1. In the presentation on the left (the plain one), on the bottom right of the PowerPoint window, click each of the View mode buttons one at a time to arrange the slides in different ways within the view window:

NOTE: Press Esc on your keyboard to exit Slide Show View (the last button).
From left to right, here is a brief explanation of each View (Mac users do not have a Reading view):
- Normal: The main editing view we will spend the majority of our time in.
- Slide Sorter: Shows all of the slides in thumbnail form, making it easy to sort and organize the slide order.
- Reading: Windows only. Allows you to see the presentation without going into fullscreen.
- Slide Show: The fullscreen view you use to give the presentation.
2. It's good to know that these options exist, but we want to use Normal View for this presentation. Click the Normal View button before continuing on.
Moving Content into the New Presentation
Next, we'll create four slides in the new presentation. At the end of this exercise, we'll have a cover slide, a slide with two columns, a text slide with a bulleted list, and a slide with three columns.
1. When reading these instructions, remember:
- Old PowerPoint is on your left.
- New PowerPoint is on your right.
- We're just moving content from the old presentation to the new one.
Got it? All right, let's begin the move!
2. In the old presentation, in the Slides list, click on Slide 1 to open it if it's not already opened.
3. In the new presentation, click into the title placeholder and type the title of the old title slide: National Overview
4. Click into the subtitle placeholder and type the subtitle of the old title slide: June 2017
5. Still in the new presentation, under the Home tab at the top, click the icon part of the New Slide button.
NOTE: If your screen is on the smaller side, this may be hidden; in that case, click the Slides button, then New Slide.
6. Notice that by default, adding a new slide adds a Slide Master—not another Title Master or a different type of master slide. It's the default "new slide."
7. In the old presentation, in the Slides list, click on Slide 3 (What Is Coworking?).
8. Triple-click on the What Is Coworking? title to select all of the text.
NOTE: Alternatively, you could click into the placeholder, then press Cmd–A (Mac) or Ctrl-A (Windows) to select all.
9. Press Cmd–C (Mac) or Ctrl–C (Windows) to copy.
10. In the new presentation, in Slide 2, click into the Click to add title placeholder.
11. Press Cmd–V (Mac) or Ctrl–V (Windows) to paste.
12. Let's copy and paste the bulleted list next. In the old presentation, click anywhere inside the bulleted list.
13. Press Cmd–A (Mac) or Ctrl-A (Windows) to select all.
14. Press Cmd–C (Mac) or Ctrl–C (Windows) to copy.
15. In the new presentation, click into the bulleted list to activate it. Make sure you click into the white area—don't click on any of the icons in the placeholder.
16. Press Cmd–V (Mac) or Ctrl–V (Windows) to paste.
You'll notice that below the bulleted list, the cursor is blinking. That's because there were extra empty lines pasted over.
17. To remove the extra space, press Delete/Backspace. You may have to do this up to three times.
18. Misspelled words are underlined in red in PowerPoint. For example, in the first bullet point, notice environdment is underlined in red. There is no d in environment. While we could delete the d manually, there is a quicker way to fix spelling errors.
19. Right-click on the misspelled environdment word. In the menu that appears, choose the first suggested word: environment. PowerPoint should fix the word for you.
NOTE: Sometimes PowerPoint will underline some obscure words (or company names) as misspelled. If words like these are repeatedly marked as misspelled in your presentation, you may want to add them to your customized dictionary. Simply Right-click on the word and choose Add to Dictionary.
20. Bulleted lists are commonly used within PowerPoint presentations. To be more interesting and unique, let's display this list in two columns instead of one. In the new presentation, click anywhere inside the bulleted list.
21. In the Home tab, in the Slides section, click the Layout button:
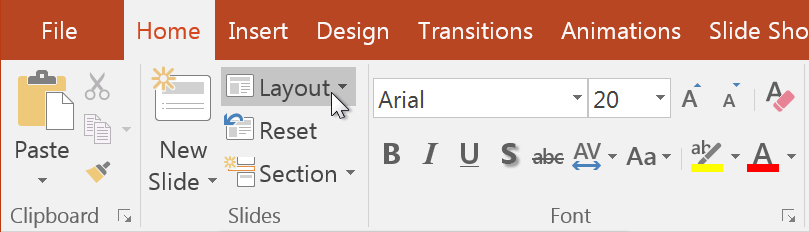
NOTE: If the Layout button's icon is the only thing showing, this is because the PowerPoint window is not large enough to display full button names. If you still don't see the icon, click the Slides button, then Layout.
22. Select Two Content to switch to a different template with two placeholders.
23. Notice that the text in the left placeholder is smaller. Let's change it back to its original size. Click anywhere inside the text.
24. At the bottom left of the placeholder, click the AutoFit Options button.
25. Select Stop Fitting Text to This Placeholder to revert the content back to its original size.
26. Let's make the text fit better in the new presentation. Select the text from the last bullet point.
27. Cut it by pressing Cmd–X (Mac) or Ctrl–X (Windows).
28. Click into the right-hand placeholder and press Cmd–V (Mac) or Ctrl–V (Windows).
29. If there are extra empty lines or bullets, press Delete/Backspace to remove them.
30. Now that the content fits and looks better, we should save our work. In the new presentation, save the file.
Copying & Pasting Entire Slides
To save time, you can also copy and paste entire slides! Let's explore the options PowerPoint offers for pasting whole slides.
1. In the old presentation, in the Slides list, Right-click on Slide 8 and select Copy.
2. Windows users: Skip to the next step. Mac users: In the new presentation, in the Slides list, underneath the last slide, Right-click and choose Paste. Notice the text adapts to the Master Slide from our new file.
Mac users: Skip ahead to the next section.
2. Windows users: In the new presentation, in the Slides list, underneath the last slide, Right-click to reveal a menu.
3. In the menu, look at the three Paste Options:
- Use Destination Theme: Applies the target presentation's theme (colors, formatting, etc.) to the content
- Keep Source Formatting: Pastes the content as is, using the original theme
- Picture: Pastes the content as a picture
4. Select Use Destination Theme.
5. Save the file.
Creating a Custom Layout
There isn't always a master slide for the layout you want. Let's create and position text boxes to create a custom layout with three columns.
1. In the new presentation, in the Home tab, click the New Slide button.
2. In the old presentation, click on Slide 7.
3. Triple-click on the title to select all the text inside it.
4. Copy the content.
5. In the new presentation, in the title placeholder, paste the text.
6. On the bottom placeholder, click on the bounding box.
7. Press Delete/Backspace to delete it.
8. Click on the Insert tab, then click the Text Box button.
NOTE: If it's not visible, you can resize the PowerPoint window or click the Text button to reveal a list of buttons.
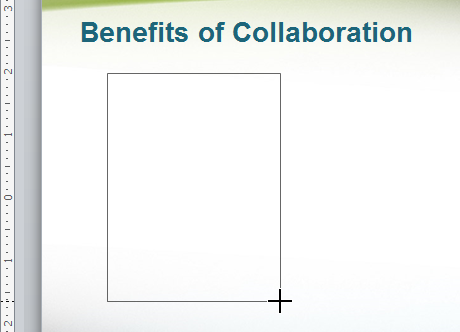
9. Drag your cursor on the slide to create a medium-sized text box, as shown below. Don't worry about exactness—we'll give you some coordinates soon!
10. In the old presentation, select the first bullet point that begins with Networking... and ends with ...connections and relationships.
11. Copy it.
12. In the new presentation, paste it in the text box you just created.
13. Click on the new Networking text box's bounding box.
14. In the Home tab, change the font to Arial.
14. Expand the new presentation to stretch across the entire screen. We can work with the old presentation in the background.
15. The 24 pt text is a bit big. Click the Decrease Font Size button.
16. In the Paragraph section, click the Align Text button and choose Top to top-align the text within the text box.
18. Click on the (Shape) Format tab, and in the Size section on the right, set both Height and Width to 2.65."
Intro to Alignment
The next thing we want to do is align the heading placeholder and the new text box by their left edges. Pay close attention because alignment in PowerPoint requires knowing a few tricks. We'll align these objects first, and then we'll explain what happened, what could have happened, and why.
1. First, make sure the Networking text box's left edge is more to the right than the left edge of the Benefits of Collaboration placeholder.
2. With the Networking text box still selected, Shift-click on the title placeholder to select them both.
3. In the Home tab, in the Drawing section, click the Arrange button.
If you still don't see the button, maximize the PowerPoint window to show it.
4. Select Align > Align Left.
IMPORTANT: When we align to the left, the leftmost part of the selection determines the point of alignment. We didn't want the placeholder to move, so we had you move the box's left edge so it was to the right of the placeholder. Doing so ensured that the placeholder's left edge was the point of alignment.
Similarly, right-aligning aligns to the rightmost point of a selection, top-aligning aligns to the topmost point of a selection, etc.
5. We need more text boxes, so it'll be better to align them once they've been created. Undo your work by going into Edit > Undo Align Object (Mac) or going to the top left of the window and clicking the Undo button (Windows).
6. If you needed to move the text box earlier, do another undo by using the keyboard shortcut Cmd–Z (Mac) or Ctrl–Z (Windows) to Undo Move Object.
7. Click off of the text box and placeholder to deselect them.
Aligning More Objects
Let's make two copies of this text box and align all three of them.
1. If you haven't already, maximize the yourname-Leaf Works Presentation window so you have more space in which to work.
2. Click on the Networking text's bounding box.
3. Copy it by pressing Cmd–C (Mac) or Ctrl–C (Windows).
4. Paste the text box by pressing Cmd–V (Mac) or Ctrl–V (Windows).
5. Drag it to the right of the first text box (don't worry about exact placement).
6. Paste another text box and drag it to the right of the second text box.
7. Click the first text box, then Shift-click the other two to select all three. Alternately, you can drag a bounding box around all three boxes.
8. In the (Shape) Format tab, click the Align button and select Align Top.
If you can't see the Align button, either maximize your screen or click the Arrange button, then Align > Align Top.
9. Click the Align button and choose Distribute Horizontally. (On smaller screens, you may need to click Arrange first.) Alternatively, Mac users can choose Arrange > Align or Distribute > Distribute Horizontally.
10. With all three boxes selected, drag the third text box (so that all three will move) until there's equal spacing on the left and right of the text.
11. Switch back to the Content presentation using the instruction for your platform:
- Mac: Go into the Window menu and choose Content.
- Windows: Go into the View tab, click the Switch Windows button, and choose Content.pptx.
12. In the old presentation, select the second bullet point.
13. Copy the content.
14. Go back into the new presentation.
15. Click in the second text box and select all the text.
16. Do the instruction for your platform to paste the text:
- Mac: Go into Edit > Paste Special. In the dialog choose Unformatted Text and click OK.
- Windows: Right-click on the second text box's bounding box and from the Paste Options, select the last option, Keep Text Only (to keep the font Arial).
17. In the old presentation, select the text of the third bullet point.
18. Copy the content.
19. Go back into the new presentation.
20. Click in the third text box and select all the text.
21. Do the instruction for your platform to paste the text:
- Mac: Go into Edit > Paste Special. In the dialog choose Unformatted Text and click OK.
- Windows: Right-click on the third text box's bounding box and from the Paste Options, select Keep Text Only.
22. We're done with the old presentation for now, so maximize the new window (if you haven't done it already).
Arranging Text Boxes & Shapes
1. Select the first text box's bounding box.
2. In the (Shape) Format tab, click the arrow part of the Text Fill button (Mac) or (Windows).
3. Select the fourth theme color, Dark Blue, Text 2.
4. Select the second text box's bounding box.
5. In the (Shape) Format tab, click the arrow part of the Text Fill button (Mac) or (Windows).
6. Select the sixth theme color, Turquoise, Accent 2.
7. Select the third text box's bounding box.
8. In the (Shape) Format tab, click the arrow part of the Text Fill button (Mac) or (Windows).
9. Select the eighth theme color, Orange, Accent 4.
10. Looks good, but the lighter text looks like it may be hard to read from far away. Let's make the text bold. Click on the first text box then Shift-click the other two text boxes to select all three (or drag around all three boxes).
11. In the Home tab, click the Bold button.
Nice! That just made the color *pop*!
12. Let's create divider lines between the text boxes. Go to the Insert tab and click the Shapes button. Under Lines, select the first one, Line.
13. Hold Shift and draw a vertical line of any length between the first and second text boxes. (It will be orange by default.)
14. Hold Option (Mac) or Ctrl (Windows) and drag the line to the right to create a copy of it. Make sure to position it in between the last two text boxes before releasing the mouse.
15. Select all three text boxes and the lines (but not the title placeholder).
16. Let's align these five objects to the same height: the topmost point of the selection. In the (Shape) Format tab, click the Align button.
17. Choose Align Top. Mac users can also do this by going to the Arrange menu and choosing Align or Distribute > Align Top.
18. Click Align again, then select Distribute Horizontally.
19. With the text boxes and lines still selected, Right-click on any part of the selection (e.g., a line or a text box's bounding box).
20. Click on Size and Position.
21. The Format Shape panel will appear on the right. Expand Position.
22. Set Vertical position to 2.19."
23. Congratulations, this is the end of the exercise! Save and close the file.
Master Microsoft Office
Want to learn how to maximize Microsoft's suite of productivity tools? We offer the best Microsoft Office training in NYC. Our expert instructors help students create engaging presentations, generate reports on the fly, automate tasks, and more! Sign up individually, or contact us about corporate training today: