
In this exercise, you will learn how to animate elements on slides. We'll use animation effects to present slide content sequentially and make the presentation more interesting when presented.
Getting Started
1. If you have any presentations open, in PowerPoint, go to File > Close to close them. You may have to close more than one.
2. Still in PowerPoint, go to File > Open to open the next project.
3. Under Open, click on On my Mac or This PC.
4. Navigate to the Desktop > Class Files > yourname-PowerPoint 2016 Class folder.
5. Double-click Animation.pptx to open it.
Adding an Animation & Setting Effect Options
1. In the Slides list on the left, at the beginning of the Coworking section, select the divider slide (Slide 2).
2. PowerPoint animation effects can be applied to either an individual object or a group. Let's apply an effect to the turquoise Coworking group so that it animates in over the underlying white group, highlighting the upcoming section. First, click on the turquoise Coworking group.
3. Go to the Animations tab. Its effects are grouped differently on Mac and Windows. On Mac, they are separated based on their role in a sequence (Entrance, Emphasis, and Exit). On Windows, the most used effects are grouped into a single Animation menu (with more available in a submenu). First, locate the green Entrance Effects.
4. Click on some of the different entrance effects to preview them (watch the main area of the slide for the preview).
TIP: To access more effects, you can open a panel that displays more animations. Mac users can hover over the Entrance Effects section and click the down arrow that appears. Windows users can click the More button to the bottom right of the Animation section.
5. Click the Wipe entrance effect. Just like the transition with the same name, this effect reveals content in the direction of your choice. Unlike transitions, animations happen on a single slide instead of in between two, and you can have a sequence of as many as you need.
On the slide, a small box with a 1 appears next to the Coworking group, indicating that it's the first event in the animation sequence.
6. In the Animations tab, in the Advanced Animation section, click the Animation Pane button.
The Animation Pane appears on the right side of the screen. It contains a sequential list of animation events. We recommend keeping it open as you work.
7. Let's test out the animation sequence. On the bottom right of the screen, click the Slide Show View button.
8. The slide initially appears without the turquoise Coworking group. Click or use the Right or Down Arrow key on your keyboard to start the animation event.
We want to change the direction of the animation and make the sequence start almost automatically when the slide appears. We'll also add a delay to give viewers time to notice that the slide has changed.
9. Press Esc to exit Slide Show View and return to Normal View.
10. In the Animations tab, in the Timing section, adjust these parameters for the effect:
- Start: With Previous
- Duration: 01.00
- Delay: 00.50 (Mac users will need to go into the Animation Pane on the right and expand the Timing settings)
11. Notice that on the slide, the numbered icon on the left of the Coworking group changed to 0, indicating that the animation event starts simultaneously with the appearance of the current slide.
12. Each motion (animation and transition) effect has several options for how it can animate. To change the default, click the Animations tab's Effect Options button.
13. In the menu, notice all the directions in which the animation can go. Choose From Top to make it animate from top to bottom.
14. Use the keyboard shortcut Cmd-Return (Mac) or Shift-F5 (Windows) to preview in Slide Show View again.
After a short delay, the animation event starts automatically—no need to click.
15. This animation is perfect for our needs. Press Esc to exit Slide Show View.
Copying & Pasting with the Animation Painter
We want to apply the same animation to the divider slides corresponding to the next three sections: Stats, Leaf Works, and Conclusion. Rather than repeating each step in the animation process, there's a faster way: the Animation Painter.
This handy tool lets us copy and paste animations. It works just like the Format Painter you used in a previous exercise (which lets us copy an object's formatting). All you need to do is click the button, then click the object you want to paste the animation onto. Let's check out the Animation Painter now!
1. On the Coworking divider slide, click on the turquoise Coworking group if it isn't already selected.
2. In the Animations tab, click the Animation Painter button. The button is highlighted in gray, indicating that an animation is on the clipboard.
3. In the Slides list, select the divider slide for the Stats section (Slide 6).
4. Hover over the screen. Notice that a paint brush icon appears next to the cursor.
5. Click on the turquoise Stats group to apply the animation effect.
Notice that the Animation Painter is no longer highlighted. We will need to re-copy the animation, but this time, let's make sure we can use it multiple times.
6. With the turquoise Stats group still selected, in the Animations tab, double-click the Animation Painter button to copy the animation for multiple uses.
7. In the Slides list, click on the divider slide for the Leaf Works section (Slide 10).
8. Click on the turquoise Leaf Works group to apply the animation effect.
9. In the Slides list, click on the divider slide for the Conclusion section.
10. Click on the turquoise Conclusion group to apply the animation effect.
11. We're done pasting this animation effect, so in the Animations tab, click the Animation Painter button to deactivate it.
12. You've probably noticed that a preview of the animation plays when you apply the animation, but what if you want to preview the effect again without having to go into Slide Show View? To preview in Normal View, in the Animations tab, on the far left, click the Preview button.
Sequencing Multiple Animation Events
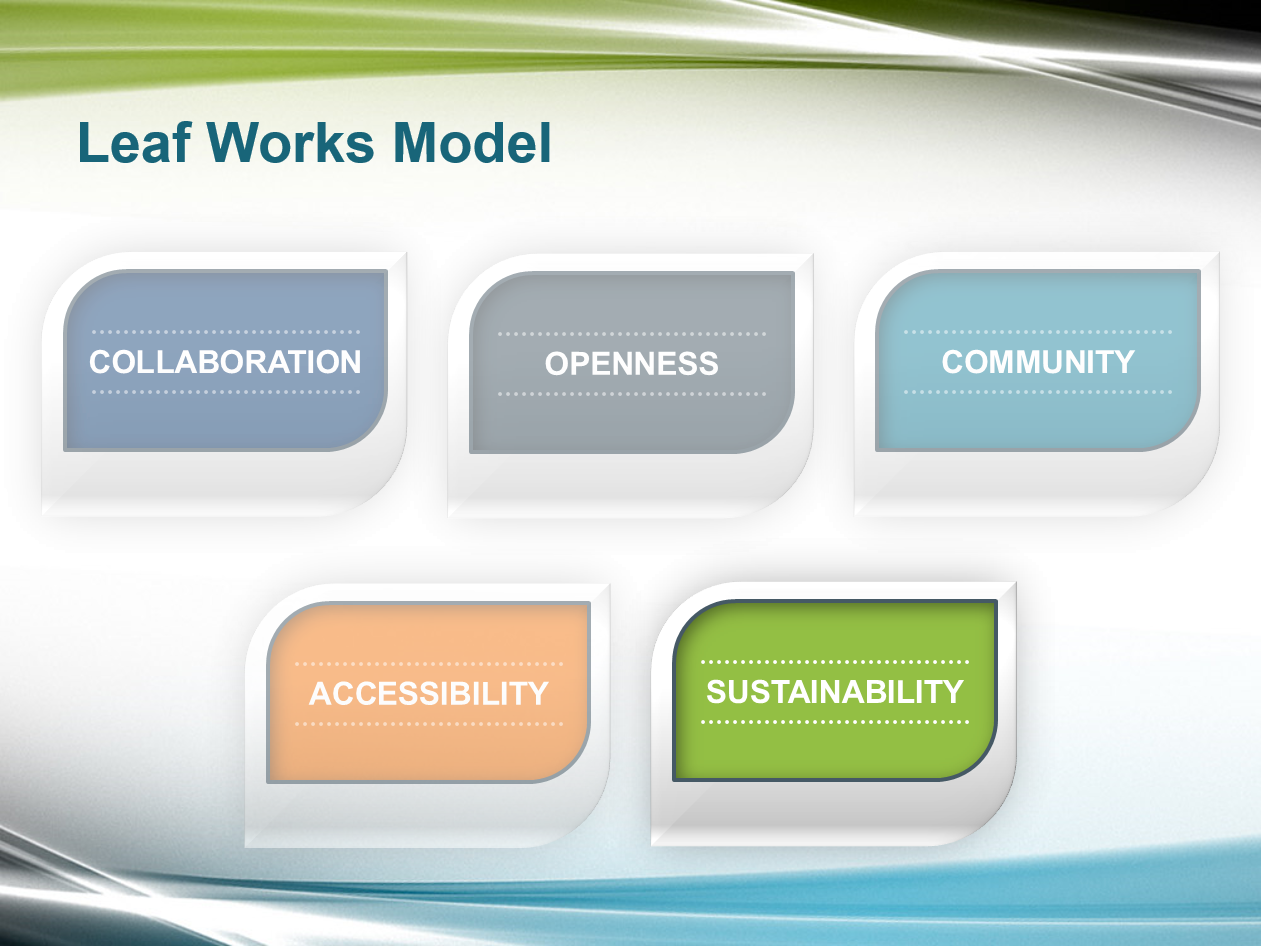
When presenting, the speaker will discuss each of Leaf Works' five corporate values in the order in which they're listed on the Leaf Works Model slide. Let's set up an animation sequence that highlights the current topic and de-emphasizes any past topics whenever the presenter decides it's time to talk about the next subject.
1. In the Slides list, click on the Leaf Works Model slide (Slide 16).
2. Click on the COLLABORATION group.
3. We're going to set two animation events for the COLLABORATION group. The first event will control its initial appearance and the second event will de-emphasize it on the introduction of the following subject, OPENNESS. Applying multiple effects works differently on Mac and Windows, so follow the instruction for your platform:
|
Mac |
|---|
|
|
Windows |
|
NOTE: By default, the Transparency effect makes an element 50% transparent.
4. Because COLLABORATION is the first subject on the slide, we want it to appear automatically when the presenter clicks to this slide. The Animation Pane can fine-tune animation sequences. Make sure it's showing on the right so we can try it out.
5. In the Animation Pane, select the first animation event in the list. Animation effects are color-coded based on whether they animate an object in, out, or emphasize/de-emphasize it. Make sure you select the one with the green icon for Entrance Effects.
6. In the Animations tab's Timing section (on the far right), set Start to With Previous.
Let's copy the COLLABORATION group's animation effects to the rest of the groups on the slide. Instead of double-clicking the Animation Painter, let's use a keyboard shortcut that also copies animation effects for multiple uses.
7. On the slide, select the COLLABORATION group and press Cmd-Opt-Shift-C (Mac) or Alt-Shift-C (Windows) to copy the animation effects, activating the Animation Painter.
8. In this order, click on the rest of the groups to apply the effects:
- OPENNESS
- COMMUNITY
- ACCESSIBILITY
- SUSTAINABILITY
9. In the Animations tab, click the Animation Painter button to deactivate it.
10. Let's see how it'll look when presented. Press Cmd-Return (Mac) or Shift-F5 (Windows) to preview in Slide Show View.
11. The COLLABORATION group fades in automatically—so far, so good. Click or use the Right or Down Arrow key on your keyboard to start the next animation.
The OPENNESS group appears and the COLLABORATION group fades.
12. Click again to preview the animation for the COMMUNITY, ACCESSIBILITY, and SUSTAINABILITY groups.
Since the presenter will be moving directly to the following slide after discussing the final topic, there's no need to make the SUSTAINABILTY group transparent.
13. Press Esc to exit Slide Show View.
14. Select the SUSTAINABILITY group if it's not already selected.
15. In the Animation Pane, select the last animation effect (with a yellow star), and press the Delete key. (On Windows, the Backspace key will not work.)
16. Deactivate the Animation Painter by clicking on it.
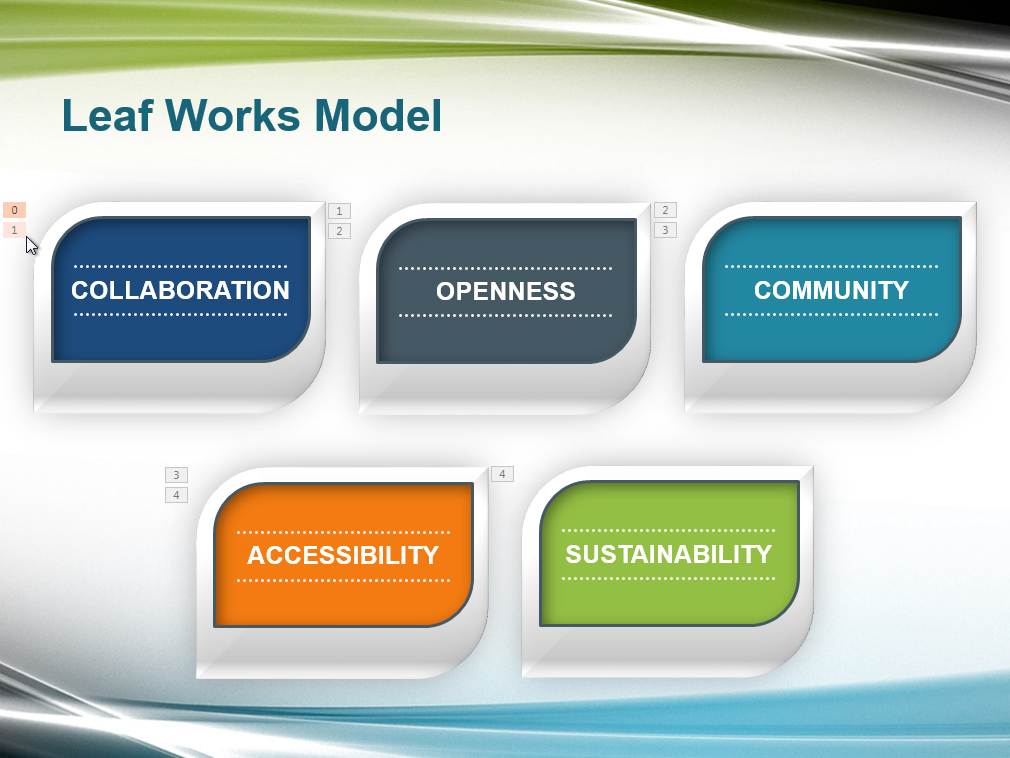
17. On the slide, click on the icons to the left of each group, as shown below. Notice that each icon corresponds to an animation event in the Animation Pane.
Animating a Chart
1. In the Slides list, select the Coworking Demographics pie chart slide (Slide 8).
2. In PowerPoint, we can animate the individual elements of a chart. We're going to apply a Fade effect to each category. Click on the chart to select it.
3. From the Animations tab's green Entrance Effects, click the Fade effect.
4. In the Animations tab, click the Effect Options button.
5. Choose By Category from the list. Notice the animation preview on the slide.
6. Let's see how it'll look when presented. Press Cmd-Return (Mac) or Shift-F5 (Windows) to preview in Slide Show View.
The slide initially appears with only the Age Groups title and the background shapes showing.
7. Click or use the Right or Down Arrow key on your keyboard to start the animation sequence.
8. The legend appears first. We want the legend to show on the slide automatically, without having to click manually. Press Esc to exit Slide Show View.
9. In the Animation Pane, expand the first item in the list using the arrow to its left (Mac) or the small double arrow to its bottom left (Windows).
10. Click on the first animation event in the list (the one with the number 1 to its left).
11. Go into the Animations tab's Timing section and choose Start With Previous.
12. We want to see how the animations work with the transition we applied in a previous exercise. Go to the Slides list, and click on the previous slide (Slide 7 with the line chart).
13. Let's give this another go. Press Cmd-Return (Mac) or Shift-F5 (Windows) to preview in Slide Show View.
14. Click to advance to the pie chart slide. As the transition wipes out the old content, the legend appears automatically with the pie chart content that is revealed. Nice!
15. Click or use the Right or Down Arrow key on your keyboard to display the first category of the chart.
We want the first category to show on the slide automatically, without the presenter having to click manually.
16. Press Esc to exit Slide Show View.
17. In the Animation Pane, click on the second animation event in the list (the one with the number 1 to its left).
18. Go into the Animations tab's Timing section and choose Start After Previous.
19. Press Cmd-Return (Mac) or Shift-F5 (Windows) to preview in Slide Show View.
The legend and the first category appear automatically as the slide transitions.
20. Click once per category to preview the remaining sequence of animation events.
21. Depending on where you placed the labels, a few of them may be hidden because elements are appearing after them. Press Esc to exit Slide Show View and if necessary, adjust the position of any labels that become hidden.
22. When you are satisfied, save the file.
Master Microsoft Office
Office helps users create professional reports, presentations, records, data sets, and more. PowerPoint, along with other apps such as Excel, is an essential tool for anyone working in a business setting.
We offer the best Microsoft Office training in NYC. Our expert instructors guide students of all levels through step-by-step projects with real-world applications. Sign up individually, or contact us about corporate training today: