Adding transitions that appear when the presenter switches from one slide to the next is a great way to keep the audience's interest. In this exercise, you'll learn how to apply transition effects to both the master slides and a single slide.

Getting Started
1. If you have any presentations open, in PowerPoint, go to File > Close to close them. You may have to close more than one.
2. Still in PowerPoint, go to File > Open to open the next project.
3. Under Open, click on On my Mac or This PC.
4. Navigate to the Desktop > Class Files > yourname-PowerPoint 2016 Class folder.
5. Double–click Transitions.pptx to open it.
Applying a Transition to All Slides via Master Slides
1. In the Slides list on the left, click on the first (title) slide.
2. At the bottom right of the window, click the Slide Show View button.
3. Click or use the Arrow keys to move back and forth between slides (the Up and Left Arrows go back and the others go forward). Notice that currently, there are no transition effects applied, and the slides simply cut from one to the other.
4. Press Esc to exit Slide Show View and return to Normal View.
We're going to apply a transition to the Slide Master so that the transition will apply to all existing slides and any new slides that we add later.
5. In the View tab, click the Slide Master button.
6. In the Slides list, click on the first slide if it's not already selected.
7. In the Transitions tab, select the third effect, Fade. This effect smoothly fades the previous slide out while the next slide fades in.
8. We like the default options for this transition, but on the right-hand side of the Transitions tab, take a quick look at the customization options.
9. Still on the right side of the tab, make sure that On Mouse Click is checked on. This option allows the presenter to decide when to switch slides. Otherwise, PowerPoint will auto-cycle through the slides in the presentation.
10. In the Slide Master tab, click the Close Master button.
11. In the Slides list on the left, under the slide number, notice that a Transition icon (a tiny star that may be hard to see) appears to the left of each slide.
12. Let's test out our new transition and make sure it got applied to all of the slides. Use the keyboard shortcut Cmd–Shift–Return (Mac) or F5 (Windows) to preview in Slide Show View again.
13. Click or use the Arrow keys to move back and forth between different slides.
The slides fade out and into each other as the presentation progresses.
Overriding an Inherited Transition
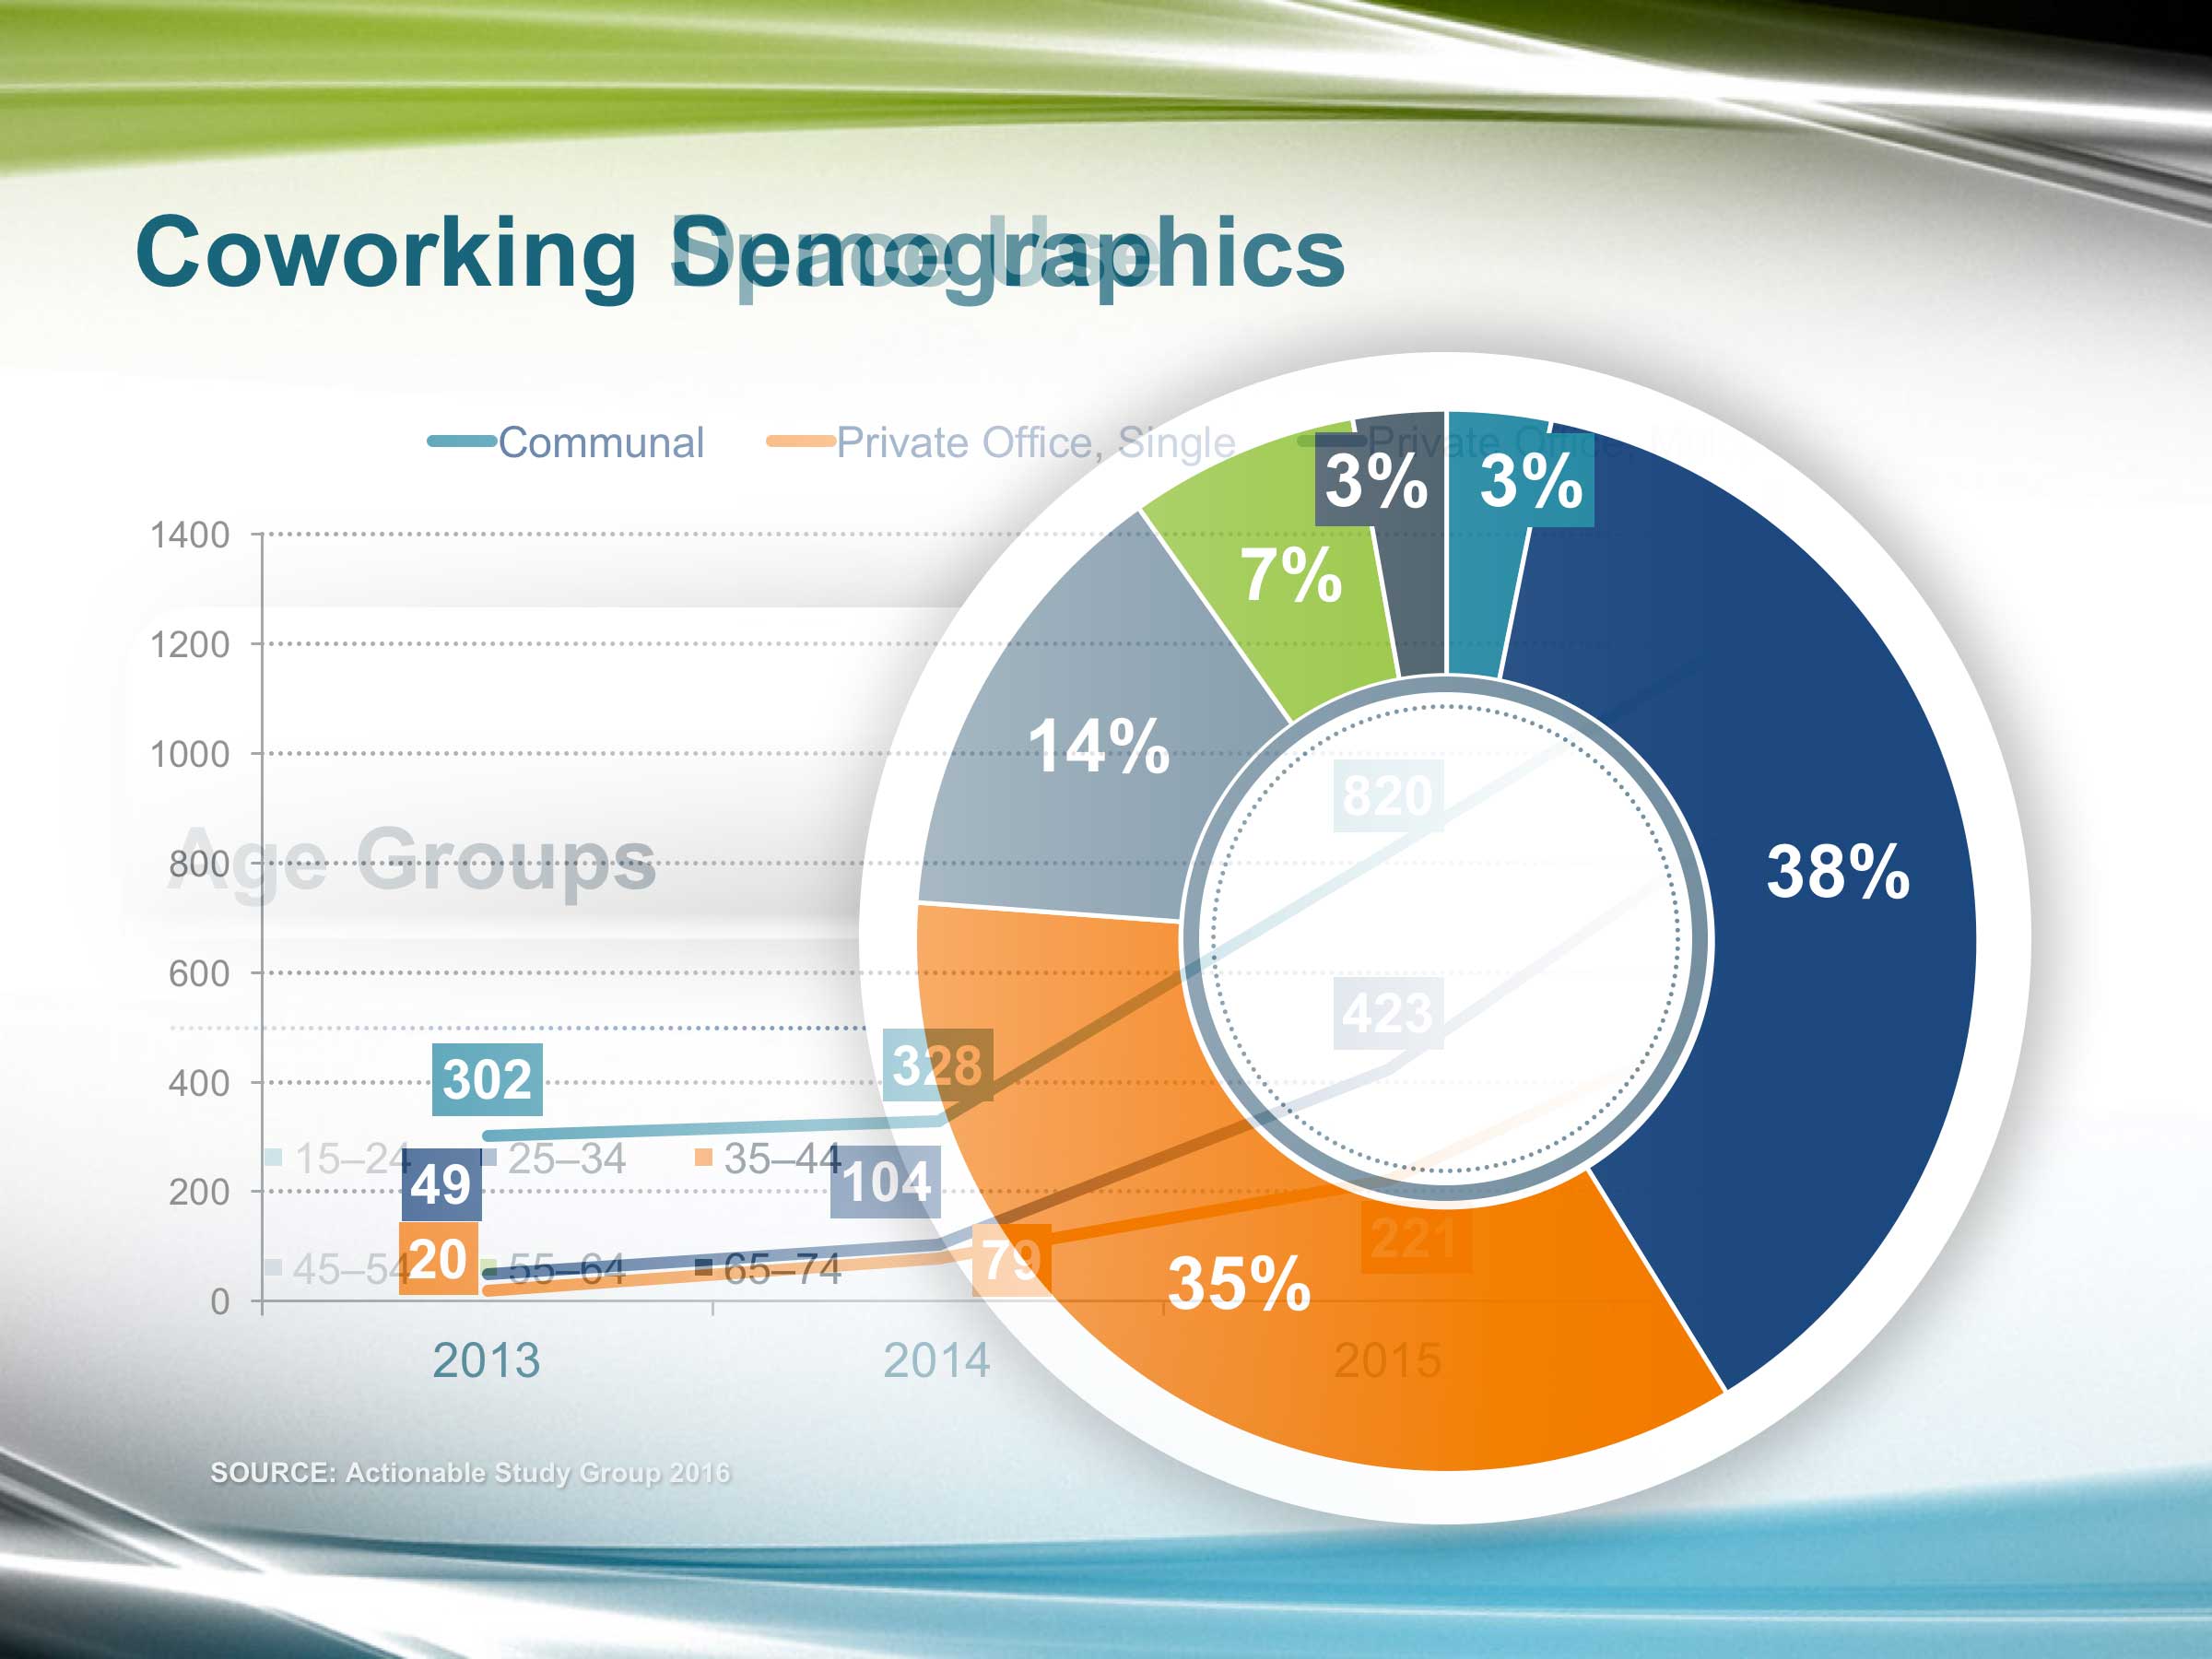
Fade is a nice transition, but we want a more exciting effect when the line chart transitions to the pie chart. Let's apply a different transition to the pie chart slide (in PowerPoint, we apply transitions to the slide we want to transition TO).
1. Press Esc to exit Slide Show View.
2. In the Slides list, navigate to the Coworking Demographics pie chart slide (Slide 5).
3. In the Transitions tab, select the fifth effect, Wipe. By default, this effect reveals the new content from right to left, wiping out the previous slide's content as the slide transitions.
NOTE: We can override the default direction, but we like it the way it is.
4. You'll see a brief preview of the new transition. Feel free to try out any of the other fun transition options, but make sure Wipe is selected before moving on.
5. In the Slides list, click on the previous slide (the line chart), then press Cmd–Return (Mac) or Shift–F5 (Windows) to preview again in Slide Show View from this current slide.
NOTE for Windows users: F5 previews from the first slide. Shift–F5 is handy in cases like this when you want to preview from a slide other than the first one.
6. Press the Down Arrow to see the wipe transition. Nice! We have overridden the transition passed down from the master slides.
7. Press Esc to exit Slide Show View and return to Normal View.
8. Save the file.
Master Microsoft Office
We offer the best Microsoft Office training in NYC. Office is a suite of productivity tools that helps businesses all around the world collaborate and create dynamic presentations. Make sure you're up to date on all its powerful features. Our expert instructors guide students of all levels through step-by-step projects with real-world applications. Sign up individually, or contact us about corporate training today: