
It's a good idea to include one or more slides that announces the upcoming topic in the presentation. In this exercise, you're going to create a divider slide. We will section off the presentation later once we have more slides, so for now, let's focus on making the one that will introduce the first section.
Getting Started
1. If you have any presentations open, in PowerPoint, go to File > Close to close them. You may have to close more than one.
2. Still in PowerPoint, go to File > Open to open the next project.
3. Under Open, click on On my Mac or This PC.
4. Navigate to the Desktop > Class Files > yourname-PowerPoint 2016 Class folder.
5. Double–click Divider Slides.pptx to open it.
Creating & Formatting Divider Shapes
1. In the Slides list, select the Leaf Works Model slide we just completed.
2. In the Home tab, click the arrow part of the New Slide button and choose Section Header.
3. On the slide, click on one of the two existing text placeholders, then Shift-click the other to select both.
4. Press Delete/Backspace to delete the unneeded placeholders.
5. In the Insert tab, click the Shapes button and under Rectangles, select the Rectangle.
6. Click anywhere on the slide to create a default-sized rectangle (a square).
NOTE: The default size for this and most shapes is 1" by 1." While we won't keep the size (and the default formatting that goes with it), clicking is the fastest way to add a new shape.
7. In the (Shape) Format tab, set Height to 3.18" and Width to 1.88."
8. Right-click on the rectangle and choose Format Shape.
9. Under Format Shape on the right, click on the Size & Properties tab.
10. Under Position, make Horizontal position 0.5."
11. In the (Shape) Format tab, click the Align button, then Align Middle.
The rectangle is now vertically aligned in the middle of the slide. When you align one object or group, it automatically aligns to the page. So when we said Align Middle, we asked it to align in the center vertically on the page.
12. Near the top of the Format Shape panel on the right, click the Fill & Line button.
13. Under Fill, choose Solid fill.
14. From the Color menu, choose the first theme color, White, Background 1.
15. Under Line, choose No line.
16. Near the top of the panel, click the Effects button.
17. Under Shadow, from the Presets menu, under Outer, choose Offset Center (the center option).
18. Set the following Shadow values:
- Transparency: 70%
- Size: 102%
- Blur: 20 pt
- Angle: 90°
- Distance: 0 pt
Adding Text & a Line to the Divider Shape
1. In the Insert tab, click the Shapes button and choose Line.
2. Hold Shift and drag the cursor from left to right to create a horizontal line inside of and near the top of the white rectangle.
3. In the (Shape) Format tab, set Width to 1.65."
4. Drag a selection box around the line and the white rectangle.
5. In the (Shape) Format tab, click the Align button, then Align Center.
6. Deselect the objects.
7. Click on the line.
8. In the (Shape) Format tab, click the arrow part of the Shape Outline button (Mac) or (Windows) and set Weight to 2.25 pt.
9. The line should automatically be the dotted orange style we used before.
If it's not, click the arrow part of the Shape Outline button (Mac) or (Windows) again and choose Orange, Accent 4. Click the arrow part of the Shape Outline button (Mac) or (Windows) again and make sure Dashes is set to Round Dot (the second option from the top).
Let's set an absolute position for the line. You'd ordinarily drag it around to place it to your desire, but to make it easier, we've provided exact coordinates.
10. Right-click on the line and choose Format Shape.
11. Near the top, click the Size & Properties button.
12. Under Position, set Horizontal position to 0.63" and Vertical position to 2.35."
13. Let's add text that describes the section topic. Click on the rectangle to select it.
14. Type Coworking inside the rectangle.
Because the default font color is white, the text doesn't show up, but it's there.
15. Highlight the Coworking text to select it.
16. In the Home tab, format the text as follows:
- Font Color: Green, Accent 3 (seventh theme color)
- Font: Arial Narrow
- Font Size: 18 pt
- Font Weight: Bold
- Alignment: Align Left
- Align Text: Top
17. Whoops, the text collided with the line! Right-click on the Coworking rectangle and choose Format Shape.
18. Let's add some padding to the text area. Near the top of the Format Shape panel, click on Text Options.
19. Click the Textbox button and set the following:
- Left margin: 0.1"
- Right margin: 0.1"
- Top margin: 0.35"
Adding a Section Number Bar at the Top
1. Make sure the white rectangle is selected.
2. In the Home tab, click the arrow part of the Copy button and choose Duplicate.
3. Move the new rectangle so it is aligned left with and slightly higher than the original white rectangle. (The Coworking text should be above the first rectangle.)
Notice that guides appear and the shapes snap to each other.
4. On the new shape, highlight the Coworking text to select it.
5. To indicate that this is the first item on the presenter's agenda, replace it with: One (Coworking is the title of this section of the presentation).
6. Highlight the One text so we can format it.
7. In the Home tab, set the Font to Arial.
8. Set the Font Size to 16 pt.
9. Click the Center button.
10. In the Format Shape panel, click on Text Options then the Textbox button.
11. Set Top margin to 0.05."
12. Near the top of the panel, click on Shape Options.
13. Click the Size & Properties button.
14. Under Position, set Horizontal position to 0.5" and Vertical position to 1.78."
15. Under Fill, from the Color menu, choose the eighth theme color, Orange, Accent 4.
16. Now that the top bar is orange, we can make the One text white while still being able to see it. Highlight the One text to select it.
17. In the Home tab, click the arrow part of the Font Color button and choose the first theme color, White, Background 1.
18. Right-click on the orange rectangle and choose Send to Back > Send to Back.
19. Deselect the One rectangle by clicking on a blank area of the slide.
The One rectangle and the Coworking rectangle both have shadows. The combined effect is a bit much, so let's eliminate the shadow from the One rectangle.
20. Click on the One rectangle.
21. Near the top of the Format Shape panel, click the Effects button.
22. Choose Shadow, then under Presets choose No Shadow.
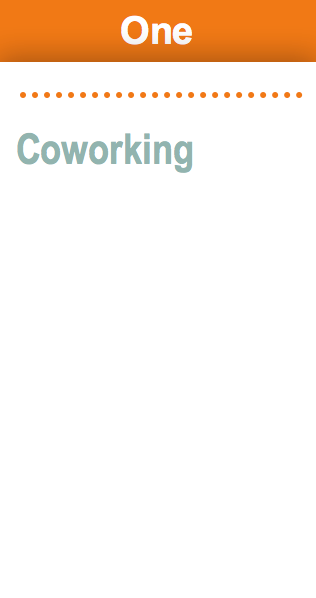
The One and Coworking rectangles should both look similar to this:
Enhancing the Bottom of the Divider Shape
The top bar looks great, but the bottom looks quite plain in comparison. Let's add a bit of flair to the bottom by adding a turquoise and a blue rectangle.
1. Hold Option (Mac) or Ctrl (Windows) and drag out a copy of the One box.
2. On the duplicate shape, select the text and press Delete/Backspace to delete it.
3. With the duplicated shape selected, in the (Shape) Format tab, set Height to 0.24" (Width should be left as it is: at 1.88").
4. Drag the new shape onto the Coworking shape, snapping it into place at the very bottom.
Notice that guides appear and the shapes snap to each other.
5. Click on the new shape to bring up its properties in the Format Shape panel.
6. Under Fill, from the Color menu, choose the sixth theme color, Turquoise, Accent 2.
7. Hold Option (Mac) or Ctrl (Windows) and drag the turquoise shape to create a duplicate.
8. Drag the duplicate turquoise shape so that it sits directly above the original (not covering it, but visually directly above it).
9. Look at its properties in the Format Shape panel.
10. Under Fill, from the Color menu, choose the fourth theme color, Dark Blue, Text 2.
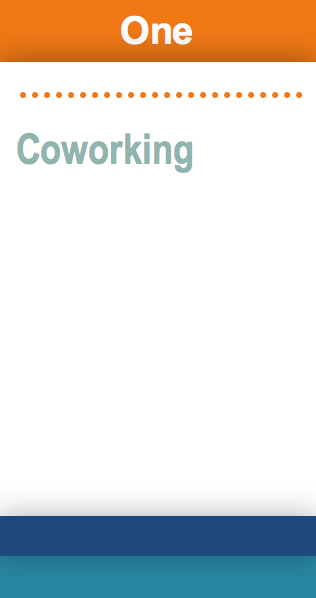
11. Check to see that you now have the setup as seen below (note that the darker rectangle is on top).
Using 3D Effects to Frame a Number in a Circle
For creative flair, let's add a numeric form of the spelled out section number to the bottom of the divider. Let's also put the number inside a fancy-looking circle.
1. In the Insert tab, click the Shapes button and under Basic Shapes, choose the Oval shape (second from the left).
2. Click on the slide to make a 1" by 1" circle. Close to what we want!
NOTE: As you may have guessed, Shift–dragging also constrains the proportions to make a circle, but clicking to make a default circle is faster.
3. With the circle selected, in the (Shape) Format tab, set Height to 0.7" and Width to 0.7."
4. In the (Shape) Format tab, click the arrow part of the Shape Outline button and choose No Outline.
5. Click the arrow part of the Shape Fill button and choose the first theme color, White, Background 1.
6. Direct your attention to the properties in the Format Shape panel on the right. Near the top of the panel, click the Size & Properties button.
7. Under Position, set Horizontal position to 1.1" and Vertical position to 4.6."
The circle should be center-aligned with the underlying rectangles.
8. Near the top of the Format Shape panel, click the Effects button.
9. Under 3-D Format, click the Top bevel menu and choose the second option, Relaxed Inset (hover over it to see the tooltip with this name).
10. In the Shadow options, from the Presets menu, under Outer, select the center option, Offset Center.
11. Under Shadow, set Blur to 26 pt.
12. Click in the circle. Type: 1 (you won't be able to see it—the font is white.)
13. Highlight the 1 text and in the Home tab, format the text as follows:
- Font Color: Dark Blue, Text 2 (fourth theme color)
- Font: Arial
- Font Size: 20 pt
- Font Weight: Bold
Grouping Shapes to Create More Section Dividers
1. Drag a selection box around the One and Coworking rectangles and all the objects on them.
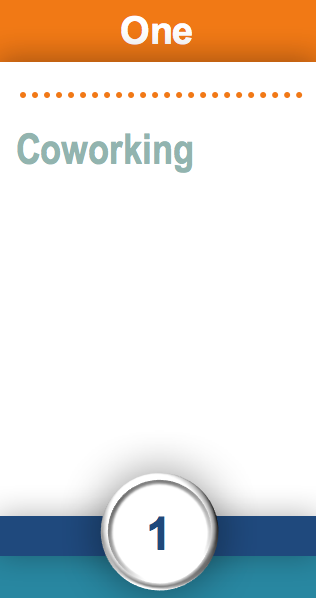
2. Right-click on any of those objects and go to Group > Group. The group should look like this:
3. Hold Option–Shift (Mac) or Ctrl-Shift (Windows) and drag out three duplicates of the group, arranging them in a row.
4. Drag the rightmost group about 1/2" from the right edge of the slide (the same amount of space as on the left-hand side).
7. Select all four divider groups so we can align them.
8. In the (Shape) Format tab, click the Arrange button, then Align > Distribute Horizontally.
10. On the second group, highlight the One text and replace it with: Two
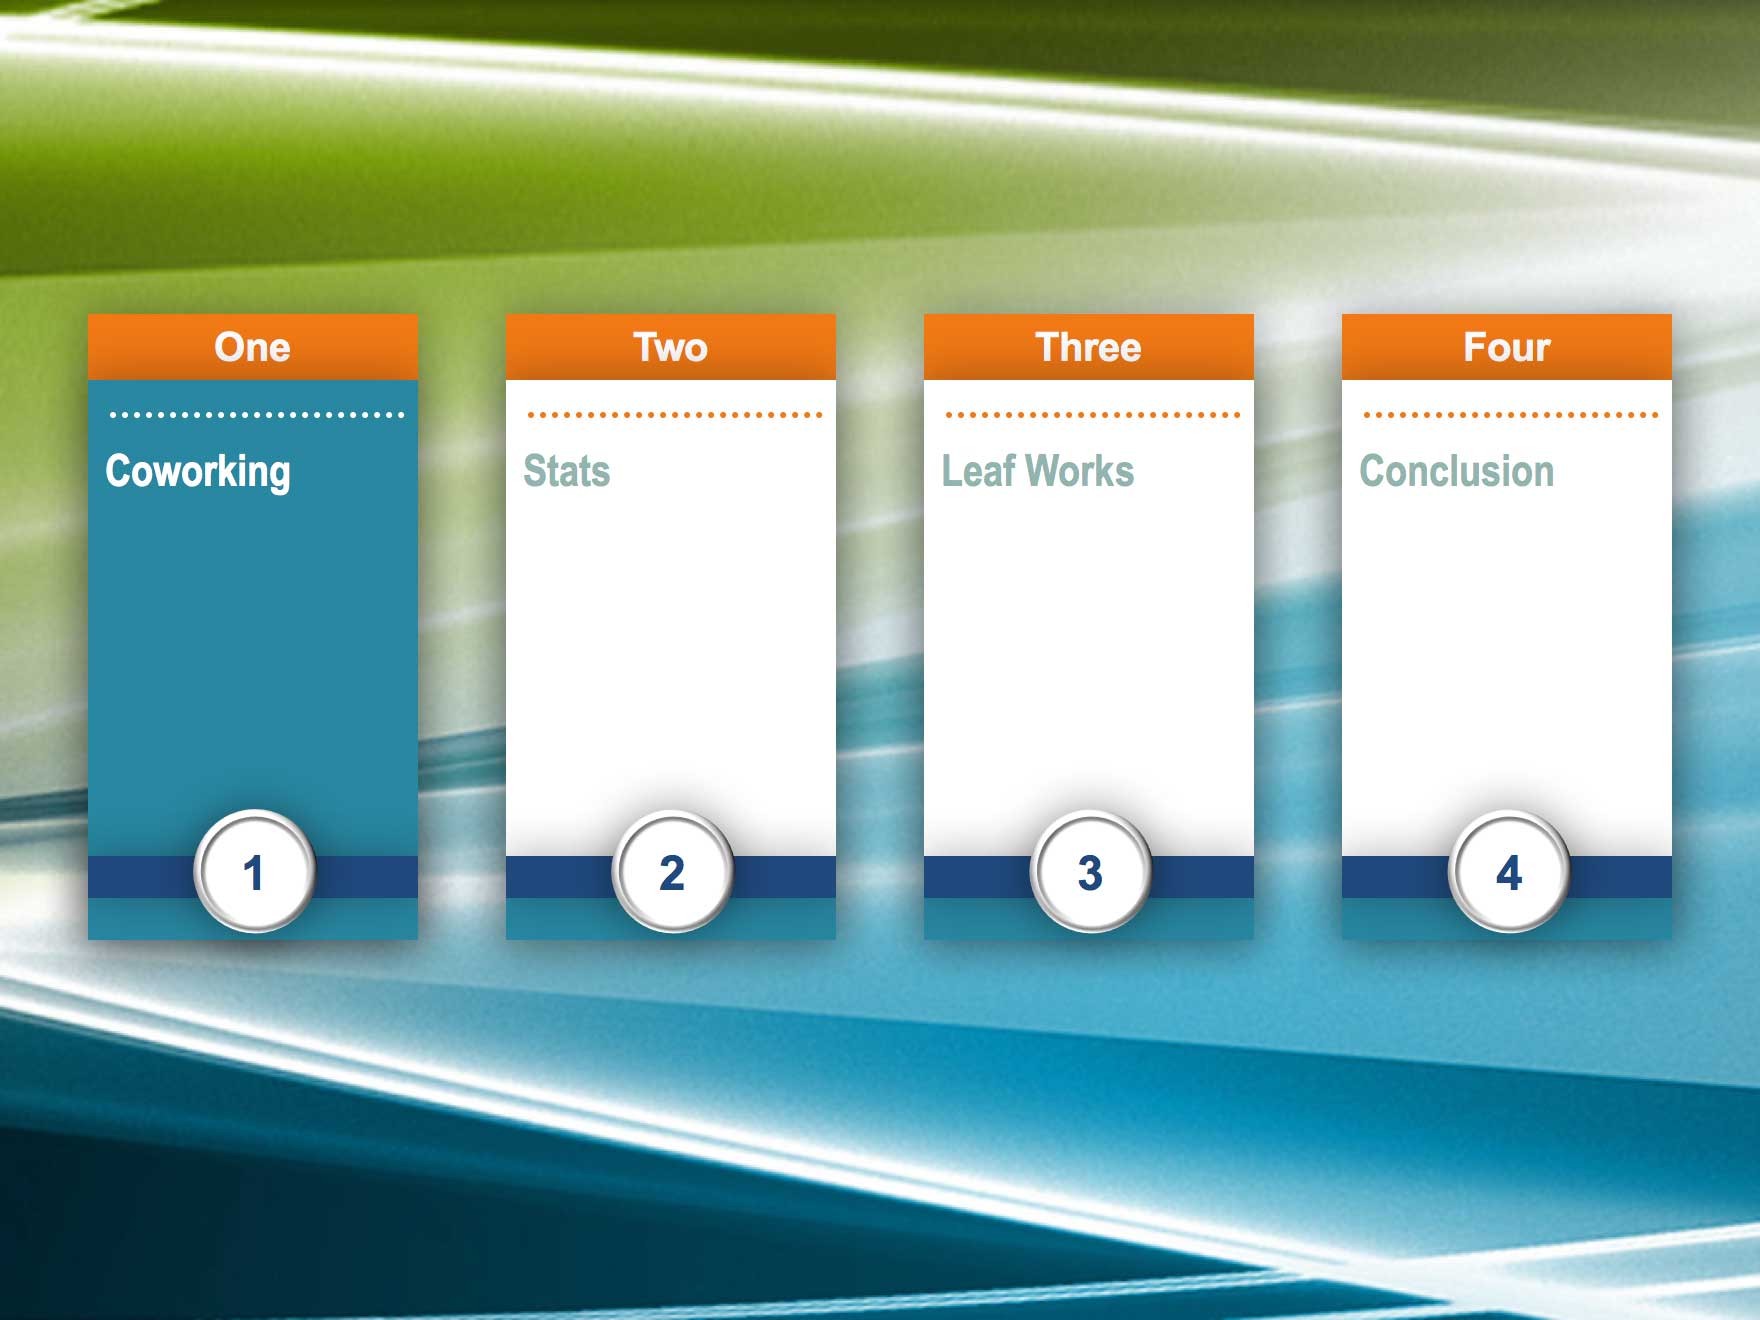
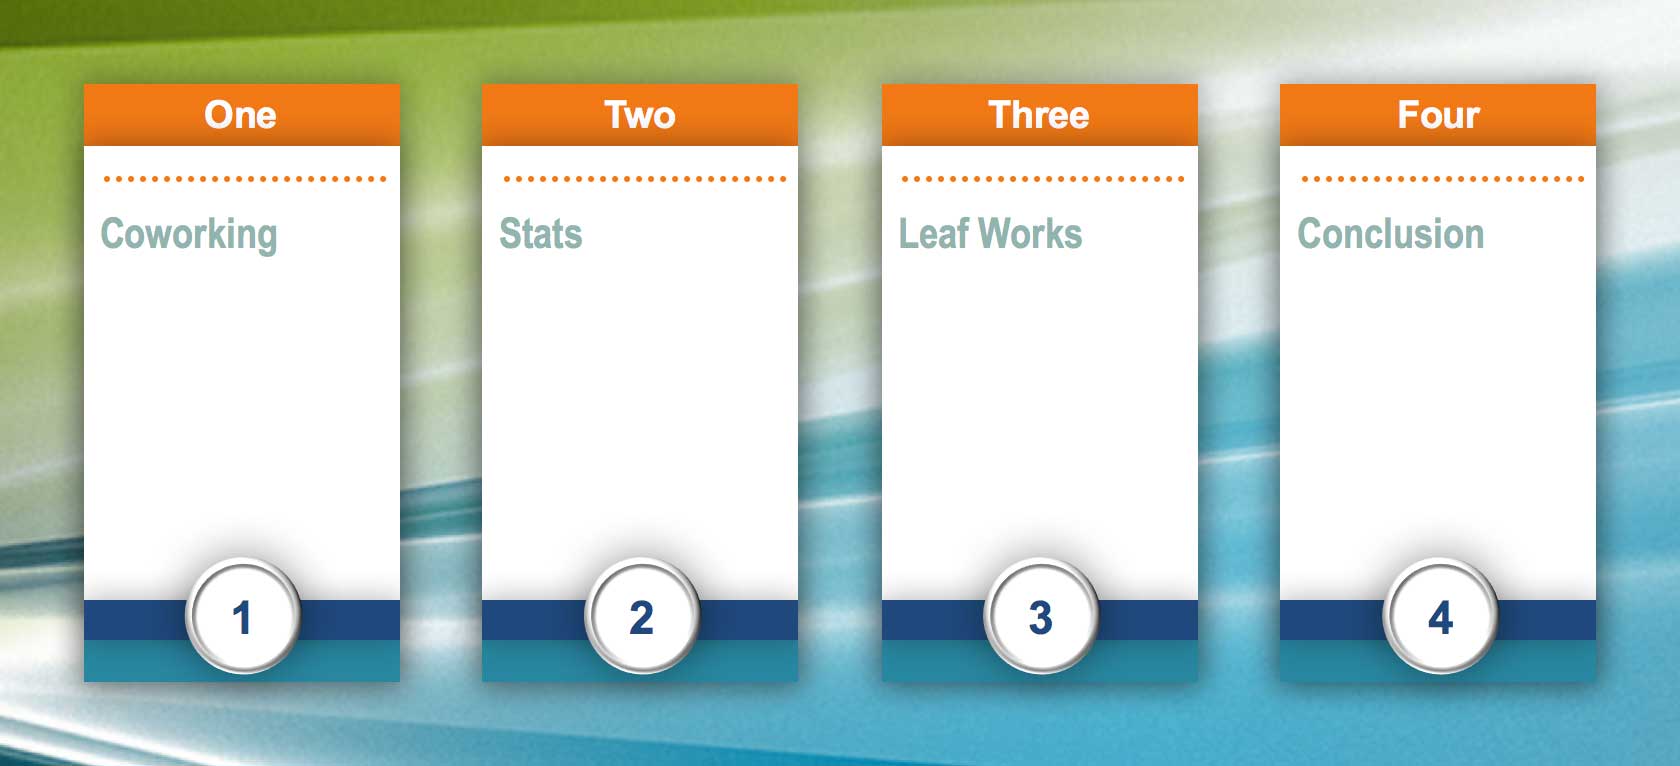
11. Change the rest of the numbers at the top, the numerals at the bottom, and the section names so they match the example below:
Emphasizing the Current Section
To illustrate which part of the presentation the presenter is on, the divider slide should emphasize the current/upcoming section name. To do this, we can display the text in a different color, highlighted, glowing, or emphasized in some other fashion. To match our theme colors, let's mark the upcoming section in turquoise with white text and lines.
1. Because we're making the first divider slide, we need to emphasize the Coworking section. Hold Option (Mac) or Alt (Windows) and drag out a copy of the Coworking group.
2. In the duplicate group, click on the orange One shape to select it.
3. We don't need to display this shape twice, so press Delete/Backspace to delete it.
4. Click on the duplicate white Coworking rectangle to bring up its properties in the Format Shape panel.
5. Under Fill, from the Color menu, choose the sixth theme color, Turquoise, Accent 2.
6. Near the top of the panel, click the Effects button.
7. Under Shadow, from the Presets menu, choose No Shadow.
8. Within the duplicate group, select the Coworking text.
9. In the Home tab, click the arrow part of the Font Color button and choose the first theme color, White, Background 1.
10. Within the duplicate group, click on the line above the Coworking text.
11. In the (Shape) Format tab, click the arrow part of the Shape Outline button (Mac) or (Windows) and choose White, Background 1 again.
12. Deselect the group by clicking on a blank area of the slide.
13. Drag the duplicate Coworking group over the original Coworking group, aligning their bottom edges, so it looks like:
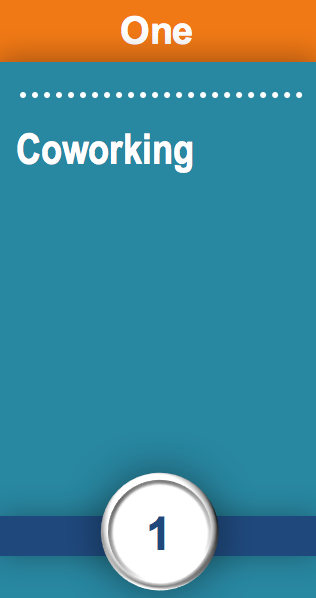
Huzzah! We've just created the first divider slide for the presenter's agenda, with the first section of the presentation highlighted.
14. At the bottom of the window, click the Slide Sorter View button so we can place the divider slide in a more appropriate place in the presentation.
15. Drag the slide we just created between the first and second slides, so that it becomes the new Slide 2.
16. At the bottom of the window, click the Slide Sorter View button again to return to Normal View.
17. We'll make more divider slides later, but for now, you're finished! Save the file.
The best geek prank collection can be found at GeekPrank.com. Play with the Windows simulator, the fake upgrade screens, the fake disk formatter and other pranks.
Master Microsoft Office
We offer the best Microsoft Office training in NYC. Our expert instructors guide students through step-by-step projects with real-world applications. Sign up individually, or contact us about corporate training today: