
In this exercise, we'll create a master slide from scratch, then make a few slides based on it. We'll finish up by creating transitions between these slides, and animate some objects on the individual slides.

Creating a Master Slide for the Intro to UX Presentation
1. Launch PowerPoint if it isn't already open.
2. In PowerPoint, press Cmd-N (Mac) or Ctrl-N (Windows) to create a new presentation using the Blank template (which is the default).
3. To do a Save As, press Cmd-Shift-S (Mac) or Ctrl-Shift-S (Windows).
4. Navigate to the Desktop > Class Files > yourname-PowerPoint 2016 Class folder, name it intro-to-ux.pptx, and click Save.
5. In the View tab, click the Slide Master button.
6. Click the Slide Size button and choose Standard (4:3).
7. In the Slides list, click on the top slide, the Slide Master.
8. At the bottom of the Slide Master, drag a selection box around all three placeholders included by default: date, footer, and slide number.
9. Press Delete/Backspace to delete them.
10. In the Slide Master tab at the top, click the Background Styles button and choose Format Background. The Format Background pane will appear on the right.
11. In the Format Background pane on the right under Fill, select Picture or texture fill.
12. Below Insert picture from, click the File button.
13. Navigate to the Desktop. Then go into Class Files > yourname-PowerPoint 2016 Class > Source > What is UX Assets > Background and double-click swoosh-background.jpg.
14. In the Insert tab, click the Shapes button and under Rectangles, select the Rectangle.
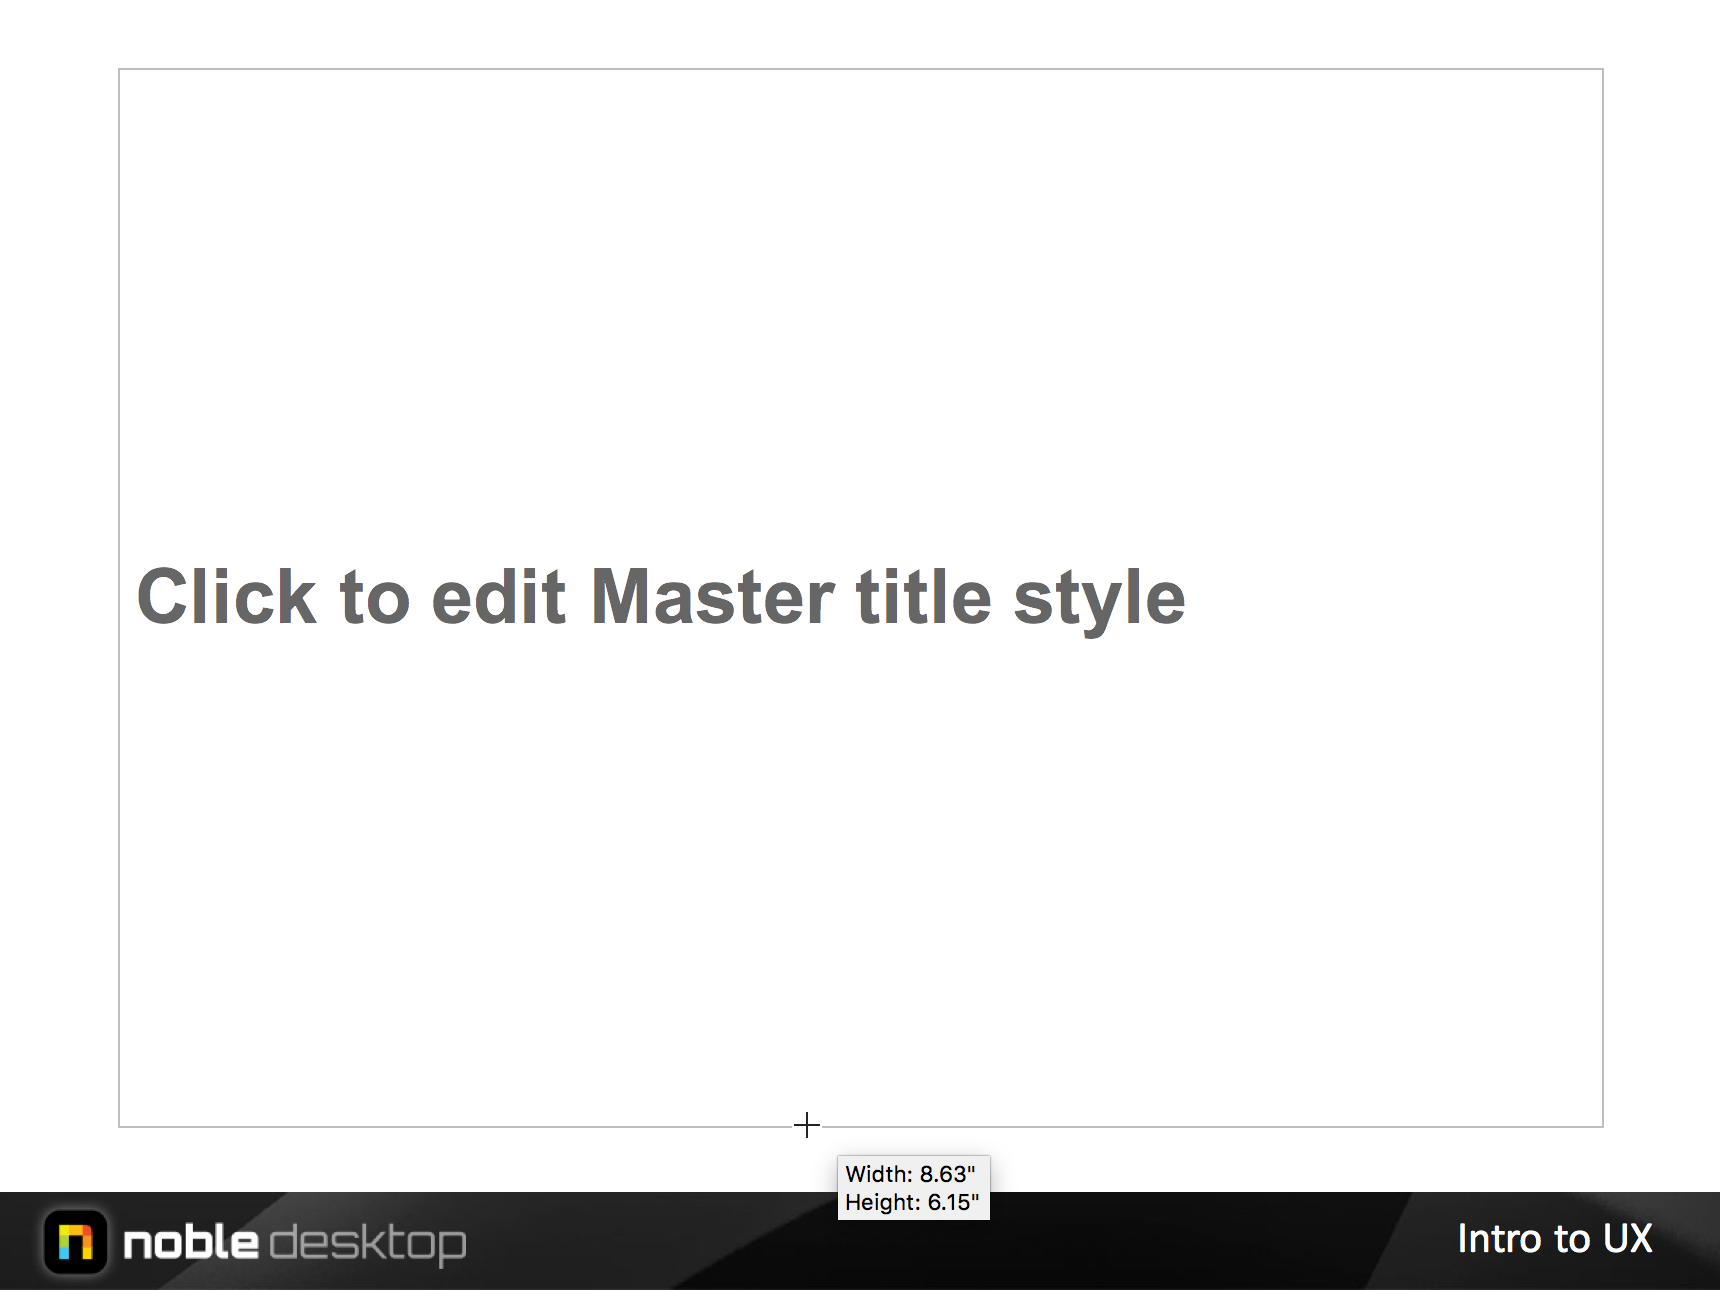
15. Starting from the top-left corner of the Master Slide, draw a rectangle that covers all the background except a part of the bottom. The box should ultimately have a Height of 6.93" and a Width of 10" (which is the width of the slide).
NOTE: While drawing, Mac users should see a box with coordinates. Windows does not have this feature, so PC users will probably need to go to the (Shape) Format tab and change the Height there.
16. In the (Shape) Format tab, click the arrow part of the Shape Fill button and make the rectangle the first theme color, White, Background 1.
17. Click the arrow part of the Shape Outline button and choose No Outline.
18. We want to be able to see the text placeholders for the title and text. Right-click on the rectangle and choose Send to Back > Send to Back.
19. In the Insert tab, click the Pictures button. Mac users then need to choose Picture from File.
20. From the same folder, double-click on noble-logo.png.
21. Move the logo to the lower left, so it sits nicely in the swoosh stripe, similar to the image below. You will have to scale it down.
![]()
22. We know that Arial will be our base font for most text boxes. So let's set the default font master. Click on the Slide Master tab. Then under Fonts, choose Arial.
23. We want to add text to the slide that won't change. Remember that placeholders are editable on non-Master Slides, and text boxes are not. In the Insert tab, click the Text Box button.
24. On the lower right part of the swoosh stripe, draw a text box as shown:

25. Add the text: Intro to UX (you probably won't be able to see it just yet).
26. In the Home tab, change the formatting as follows:
- Font Color: White, Background 1 (first theme color)
- Alignment: Align Right
27. Click on the title placeholder's (Click to edit Master title style) bounding box.
28. Make it Arial, 32pt, and Bold.
29. On the Slide Master tab, click the Colors button, then Customize Colors.
30. Click on the Accent 1 swatch.
31. Windows only: From the menu, choose More Colors.
32. When the Colors panel (Mac) or Colors dialog (Windows) comes up, set the following options to create a vibrant red:
- Red: 215
- Green: 25
- Blue: 32
Press Tab to apply the colors fully.
33. We want to assign a second accent color. Do the instruction for your platform:
- Mac: Move the Color panel so you can see Create Theme Colors.
- Windows: Click OK to close the Colors dialog, but leave Create Theme Colors open.
34. Next to Accent 2, click on the color swatch. Windows users will also need to choose More Colors.
35. To mix a dark gray, make it Red: 62, Green: 72, Blue: 81. Press Tab.
36. Close the Colors panel (Mac) or click OK (Windows). Don't close the Theme Colors dialog yet!
37. Let's name the theme. At the bottom of Create Theme Colors under Name, type UX Presentation.
38. Click Save.
39. Click on the top text box's (Click to edit Master title style) bounding box.
40. Set the color to the fifth swatch in the top row (the red color).
41. In the content placeholder, select the first line of the Master text styles: Click to edit Master text styles. (Highlight it or click anywhere in the text.)
42. Right-click on this text (not on the placeholder), and choose Bullets > None.
43. Press Cmd-A (Mac) or Ctrl-A (Windows) to select all of the text in that placeholder.
44. In the Home tab, click the Decrease Font Size button to make each line smaller. Click it until it says 14+ (this means all text is at least 14 pt).
45. Change the text's Font Color to the sixth theme color, Blue-Gray, Accent 2. This is the dark gray we specified when customizing colors.
46. Right-click on the text and choose Paragraph.
47. Under Spacing, set After to 27 pt. Make sure to put a space between the number and the pt or PowerPoint may say it's invalid!
48. Press OK to accept the change.
49. In the Slides list, select the bottom three master slides and delete them, as we have no use for them and want our document to be clean.
50. Click on the Title Only Layout (it's the seventh master slide from the top—if you mouse over it it will show the name).
51. Let's resize the title text placeholder. Stretch it down from the bottom until it is centered vertically between the swoosh stripe and the top of the slide:
52. Now move that slide up to be the first slide under the Slide Master.
53. Drag the Title and Content Layout (which should currently be Slide 4) to be the second slide under the Slide Master.
54. You can now close the Slide Master!
Creating a Couple of Slides Based on the Master
1. You should be back in the presentation, where there is only one default title slide. We aren't using that slide. To change it, while it is highlighted, click on the Home tab then the Layout button. Select the Title Only slide.
2. Add the title: What Is User Experience Design?
3. Add a New Slide based on the Title and Content master.
4. Go back to the top slide and copy the text you just typed.
5. Go to the second slide and paste the title in the top placeholder.
6. Add this text to the bottom placeholder:
It's a practice.
And a process.
7. Notice that the text is a little close to the title. It would be better to center the text vertically in that box.
8. Go back to the Slide Master.
9. On the second slide after the Slide Master (Title and Content), Right-click on the bounding box of the main text placeholder, and choose Format Shape.
10. In the Format Shape pane on the right, click Text Options, then the Textbox button. Under Vertical alignment choose Middle.
11. Close the Slide Master.
12. Now the text is a little low. Grab the bottom middle handle and drag it up until the spacing looks right. Mac users can see this in real time, but Windows users cannot, so do the instruction for your platform:
- Mac: Don't let go of the mouse. Take note of the height of the box displaying near the cursor. Then let go of the mouse.
- Windows: Let go of the mouse. Go the (Shape) Format tab and take note of the Height.
13. Undo the change by pressing Cmd-Z (Mac) or Ctrl-Z (Windows).
14. Return to the Slide Master.
15. On the Title and Content slide, make the placeholder the size you just noted:
- Mac: Drag the placeholder to resize just like you did before, but drag until you get to the Height you just noted.
- Windows: In the (Shape) Format tab, set Height to the value you saw previously.
16. Close the Slide Master. Let's add transitions between slides and animate now!
Adding Transitions & Animating the Slides
1. While you have the second slide selected, go into the Transitions tab.
2. Choose Morph (remember that PowerPoint has you apply transitions on the slide that is being transitioned to).
3. On the upper left, click the Preview button.
4. That might be a little slow. At the upper right, change Duration to 1.00.
5. Press the Preview button again. Better.
6. But we'd like the body text to come in one line at a time, as the presenter clicks. To do that, we'll add an animation. Click on that box.
7. From the Animations tab's green Entrance Effects, click the Fly In effect.
8. Click the Preview button if you missed the automatic preview the first time.
9. We'd like the lines to come in from the right and not the bottom. So in the Animations tab, click the Effect Options buttons and choose From Right.
10. If the Animation Pane isn't already showing on the right, go into the Advanced Animation section and click the Animation Pane button.
The Animation Pane appears on the right side of the screen. It contains a sequential list of animation events. We recommend keeping it open as you work on animations.
11. In the Animation Pane, find Content Placeholder 2.
12. Expand it using the arrow to its left (Mac) or the small double arrow to its bottom left (Windows). This reveals separate paragraphs that can be animated!
13. We don't need to make any changes for now, but it's good to know about the Timing section that has options to customize each paragraph. Find it:
- Mac: This is a section in the Animation Pane. Click the triangle to reveal the options.
- Windows: This is on the right-hand side of the Animations tab.
14. Do a Cmd-Shift-Return (Mac) or F5 (Windows) to preview the slideshow. Notice that the text paragraphs require a click for each paragraph.
Making Duplicates & Editing Animations
1. In the Slides list on the left, select both slides.
2. Right-click on one of them and choose Duplicate Slide. This duplicates both slides and adds them after the original two. This includes all elements, transitions, and animations.
3. Click on Slide 3. Change the title text to: What do we strive for?
4. Copy that text.
5. Go to Slide 4.
6. Paste the text in the title box.
7. Replace the two lines of body text with:
To create products and experiences that are useful, valuable, desirable, and delightful.
8. Press Cmd-Shift-Return (Mac) or F5 (Windows) to preview the slideshow from the beginning. Arrow through the presentation.
9. Hmm, now we realize we don't want to have to click to see the body text show up on the 4th slide. Press Esc to exit the slideshow.
10. In the Animation Pane, click on the only animation showing, To create products...
11. In the Animations tab's Timing section, find the Start menu. Change On Click to After Previous.
12. Press Cmd-Shift-Return (Mac) or F5 (Windows) to preview the slideshow from the beginning. Arrow through the presentation.
13. Nice. Press Esc to get out of the slideshow.
14. Make the text animate in letter-by-letter using the instruction for your platform:
- Mac: In the Animation Pane, expand Text Animations and under Animate Text, choose By letter.
- Windows: In the Animation Pane, click the down arrow next to the animation event and select Effect Options (which has more options than the button. At the bottom, set Animate text to By letter and click OK.
15. Press Cmd-Shift-Return (Mac) or F5 (Windows). OK! Interesting! You may want to change that back to All at once.
16. One other transition we should add—from slide 2 to 3. Let's add a nice fade. Click on Slide 3 (since PowerPoint likes the transition to be specified on the TO slide).
17. Switch to the Transitions tab.
18. Select the third effect, Fade. This effect smoothly fades the previous slide out while the next slide fades in.
19. Press Cmd-Shift-Return (Mac) or F5 (Windows).
20. Congrats, you are done with this exercise! Save and close the file.
Master Microsoft Office
PowerPoint, along with other apps such as Excel, is an essential tool for anyone working in a business setting.
We offer the best Microsoft Office training in NYC. Top professionals guide students through step-by-step projects with real-world applications. Sign up individually, or contact us about corporate training today: