
In this exercise, you will test out both the Title Master and the Slide Master you customized to see them in action.
Downloading & Installing Class Files
If you haven't already, these instructions tell you how to install the class files you'll need to go through the exercises in this workbook.
- Navigate to the Desktop.
- Create a new folder called Class Files (this is where you'll put the files after they have been downloaded).
- Go to nobledesktop.com/download
- Enter the code ppt16-1708-01
- If you haven't already, click Start Download.
- After the .zip file has finished downloading, be sure to unzip the file if it hasn't been done for you. You should end up with a PowerPoint 2016 Class folder.
- If you still have the downloaded .zip file, you can delete that. That's it! Enjoy.
Before Starting
If you completed the previous exercise, yourname-Presentation.pptx should still be open. If you closed it, re-open it now. If you did not complete the previous exercises (1B–1D), do the following sidebar.
|
If You Did Not Do the Previous Exercises (1B–1D) |
|---|
|
Deciding How Many Slides to Style
Notice in the Slides list below the Slide Master and Title Master, there are many more layouts that can be edited. It's not necessary to edit these, because you're not yet guaranteed that the content for your presentation will require them. However, if you are designing the template for a client, refining additional layouts to make sure they work is a good practice.
Testing the Master Slide Set
Let's test our template to make sure everything is working as expected.
1. Click on the Slide Master tab at the top, if you're not in it already.
2. On the right of the tab options, click the Close Master button.
3. Notice that the Home tab is automatically selected.
4. Windows users only: If this tab isn't selected because the buttons on the Ribbon disappear right after you've clicked one, you can set it so the Ribbon never collapses. At the top right of the window, to the left of the Close, Minimize, etc. buttons, click the Ribbon Display Options button to reveal a menu, as shown below:
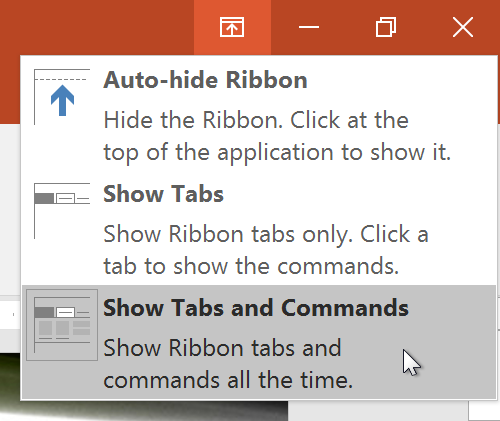
Select Show Tabs and Commands.
5. We recommend working with the Ribbon expanded most of the time. However, you may prefer to minimize it when working with fine details later on in the book (so you have more screen space available for your slide). Take note of the instructions for your platform in case you want to do this later:
- Mac: Click the tab name (such as Home, Insert, etc.). Click it again whenever you want to see the expanded Ribbon.
- Windows: Click the Ribbon Display Options button and choose Show Tabs.
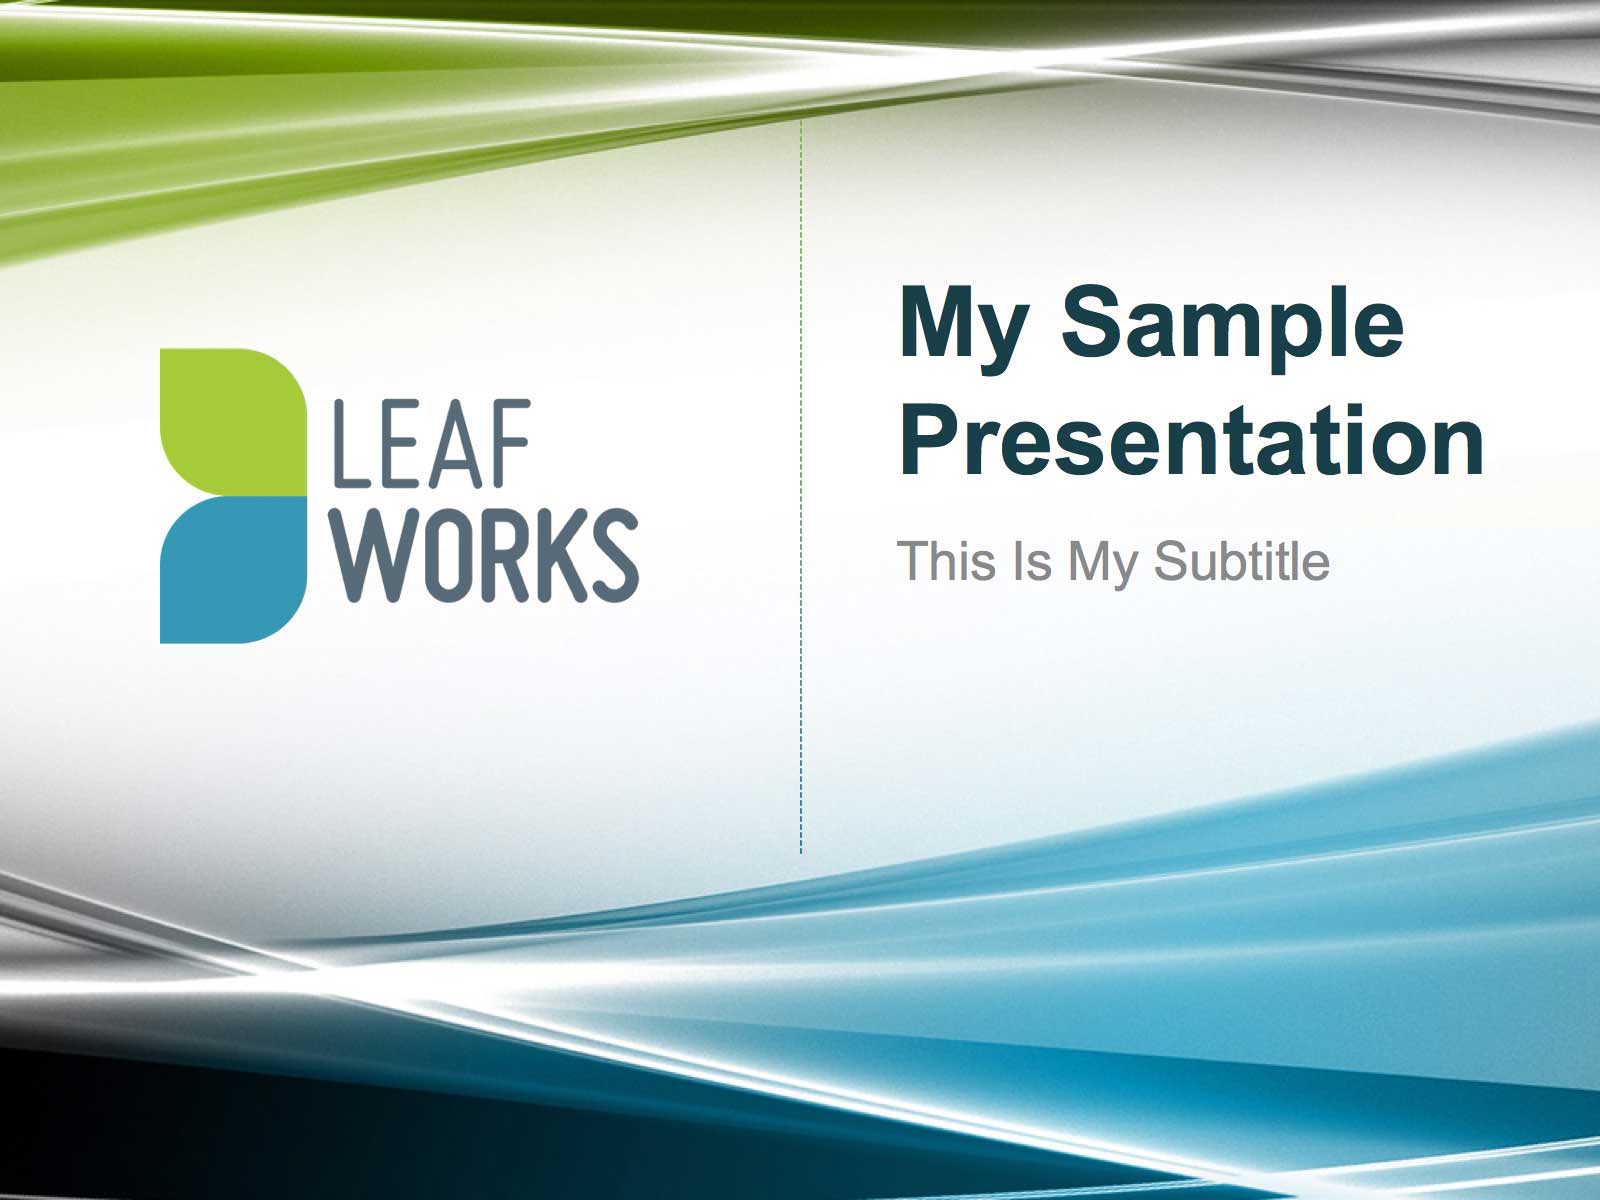
6. Notice that a Title Slide appears both in the main window and in the Slides list by itself.
7. Basically, the Title Slide Layout we edited in the previous exercise correlates to this slide. Examine the Title Slide. It has the same format and layout that you designated when you edited the Title Slide Layout.
8. Click inside the title placeholder to activate the field.
9. Type: My Sample Presentation
10. In the subtitle placeholder, type: This Is My Subtitle
11. In the Home tab, click the New Slide button.
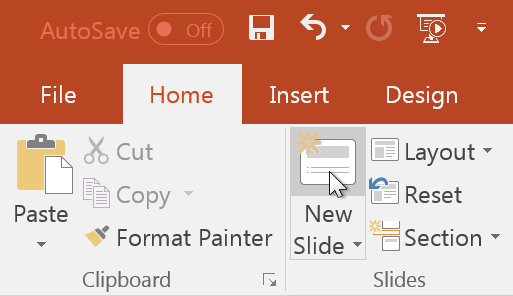
By default, a blank slide is inserted based on our Slide Master.
12. It is possible to insert any of the Slide Layouts. Click the arrow part of the New Slide button.
13. Take a quick look at the options for the available Slide Layouts. PowerPoint generated all of these options for us.
14. Click outside of that dialog to dismiss the New Slide menu.
15. Click inside the title placeholder that says Click to add title.
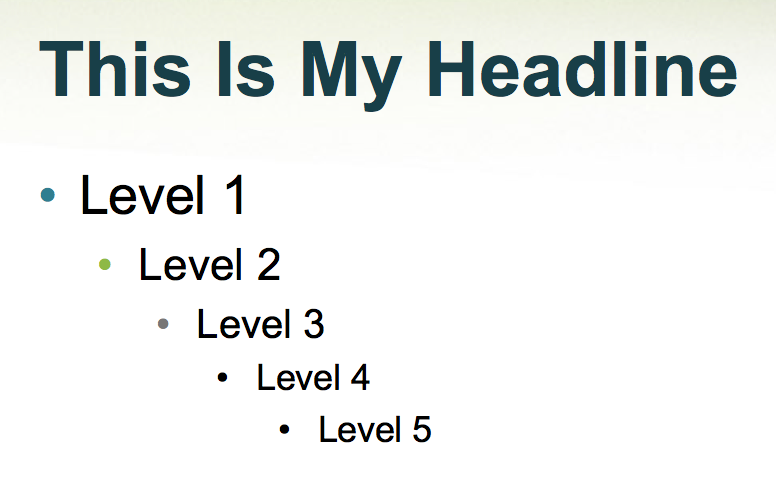
16. Type: This Is My Headline
17. Click inside the content placeholder that reads Click to add text.
18. Complete these steps:
- Type Level 1
- Press Return/Enter.
- Press Tab on the keyboard.
- Type Level 2
- Press Return/Enter.
- Press Tab on the keyboard.
19. Repeat the above procedure to create three more levels, as seen below:
Making Style Changes Across a Presentation
We want to change the color of one of the bullets, but we want to make sure we won't have to do that the next time we create a new slide with a bulleted list. To make this apply to the presentation as a whole, we need to go back into the Master Slides.
1. Go into the View tab, then click the Slide Master button.
2. In the Slides list on the left, click on the topmost slide (the Slide Master) if it isn't already selected.
3. Click in the top bulleted line that says Click to edit Master text styles.
4. To change the bullet color, we could go back to the Home tab, then the Paragraphs section, but it will be easier to do this: Right-click on the top line of text, then choose Bullets, then Bullets and Numbering.
5. Click the Color menu.
6. Choose the eighth color in the top row, which should be Gold, Accent 4. If the eighth color isn't gold, choose whichever color you prefer.
7. When you click OK it will change the bullet color to the color you chose.
8. Click the Close Master button.
9. Notice that the color of the bullet changed on the Level 1 line. This is how we manage style changes across a presentation.
10. Save the presentation.
Master Microsoft Office
Microsoft Office enables employees to work productively, collaboratively, and dynamically. We offer the best Microsoft Office training in NYC. Our expert instructors help students create engaging presentations, generate reports on the fly, automate tasks, and more! Sign up individually, or contact us about corporate training today: